Chapter 7 - The Wing
Section 5 - Wing Top skin
Wing top skin foam shaping
Once all of the bays are skinned and we have satisfied ourselves that the fuel cells are sealed, it is time to shape the top wing skin. Level up the wing and secure the wing tip as you did before we shapped the top wing skin. The wing is pretty stiff now and will probably onle need a little support at the aft G rib. Once we skin the top, the wing shape will be locked in for good, so from now on we want to insure the level lines on the A and G rib are in fact truly level.

A rib Level
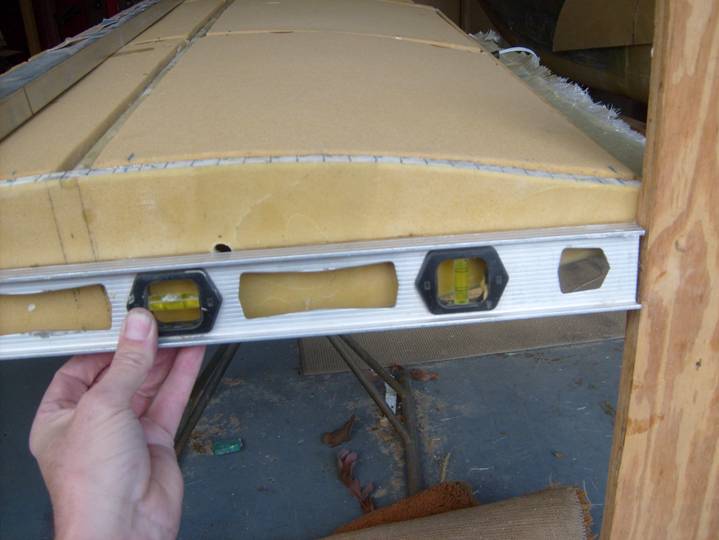
G rib level and supported
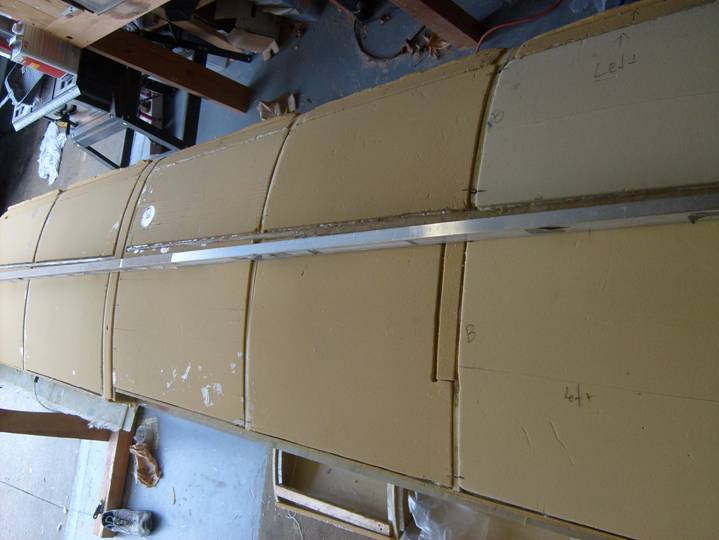
Wing Ready to Sand to Shape
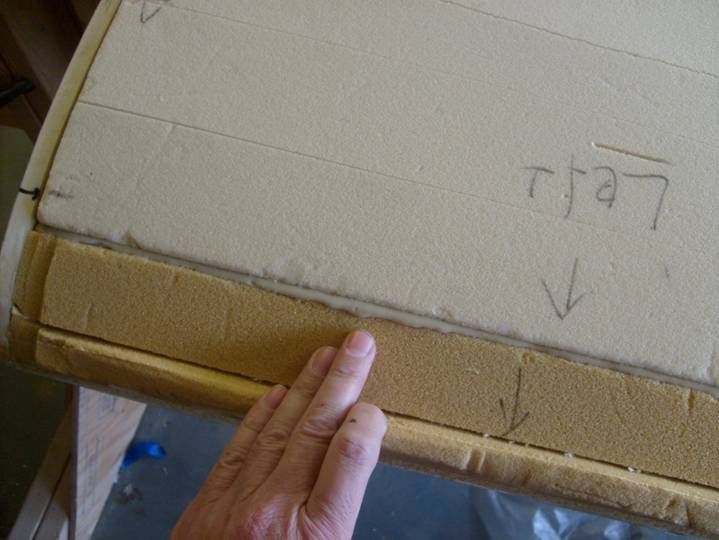
This is done in the same manner as the bottom wing skin was so we will refer back to that section. First however there is a little prep we need to do. Install a strip of foam between the B and BB ribs. You also install a strip of foam between the D and E ribs—this will be removed later after the wing is glassed and just serves as a surface to glass. You can just tack it into position with dollops of epoxy every few inches or with dots of hot glue.
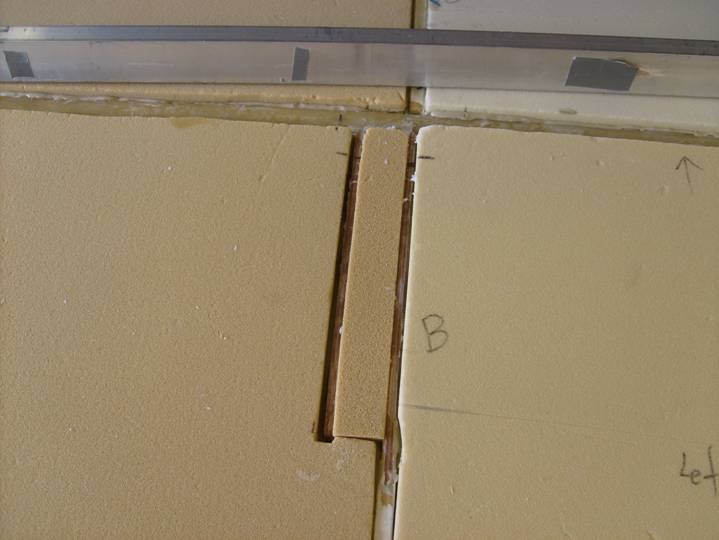
Add a strip of foam between the B and BB ribs
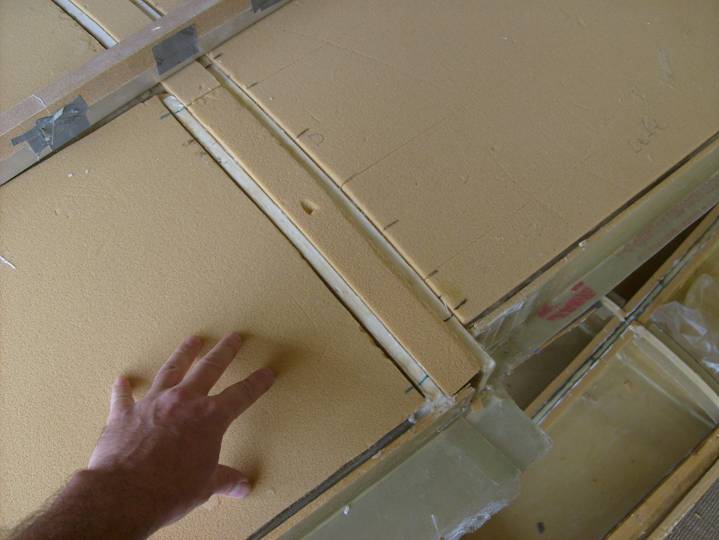
Add a strip of foam between the D and E ribs
Top Wing Skin ready to Shape
Inspect all of the ribs to insure they are clear of epoxy drips, especially the A and G ribs as these will, of course, be used to define the shape of the wing.
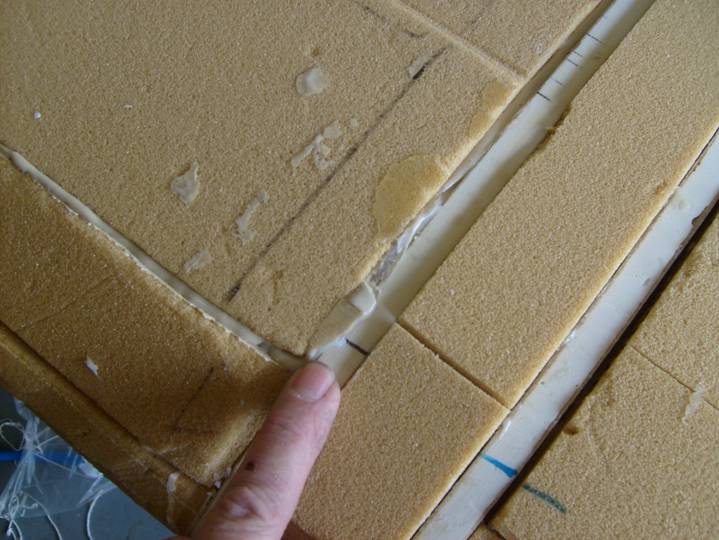
Epoxy used to secure top panel oozed above the rib and must be removed
More Epoxy ooze above a rib
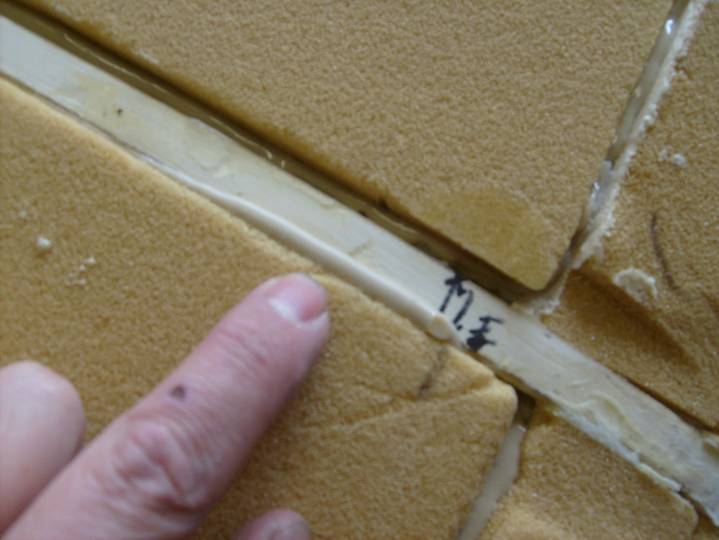
Here is a very subtle drip on the top of the rib—look carefully and remove all
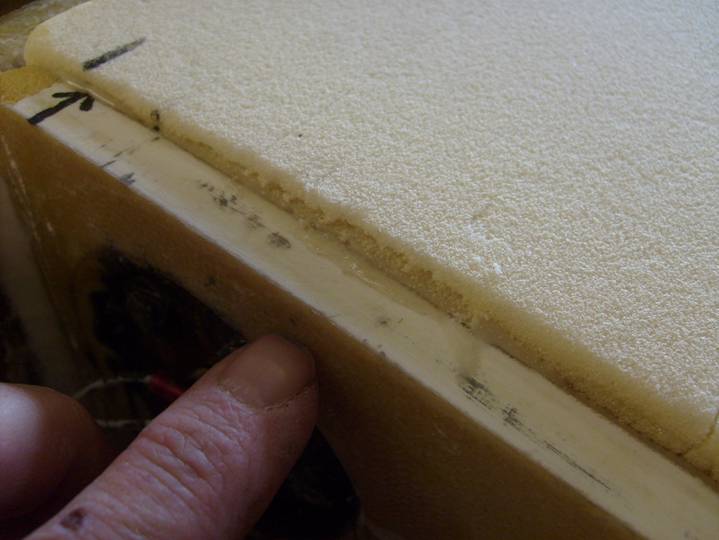
This area of epoxy ooze will be worked down when we shape the wing
Now mark the A and G rib with our reference lines for our sanding board. Establish the position of the 0 reference line positioned on the aft side of the main spar at the A rib. This will probably be in space so draw lines on the top of the A rib in one inch increments forward and backwards from this 0 reference position and label the lines 0,1,2,…,9,0,1,2…
Now on the G rib measure back 11.5 inches from the very front of the rib and 14 5/8” forward from the aft side of the rar spar where it meets the G rib. These should be the same position. This is the correct place for the 0 reference line. Draw a line here on the top of the G rib and then draw lines forward and rearward at 5/8” intervals. Label these as you did the ones on the A rib. Finally use your long sanding beam to insure that they do in fact line up and that you did not make a mistake in marking them or in their spacing.
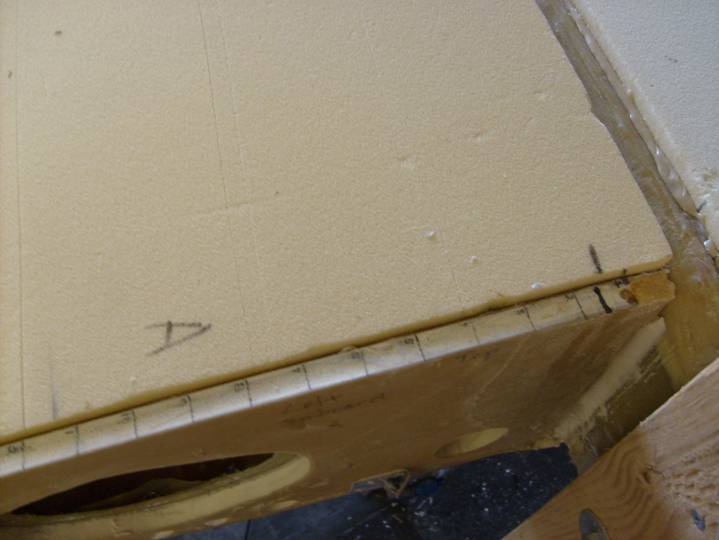
Sanding reference lines on the A Rib
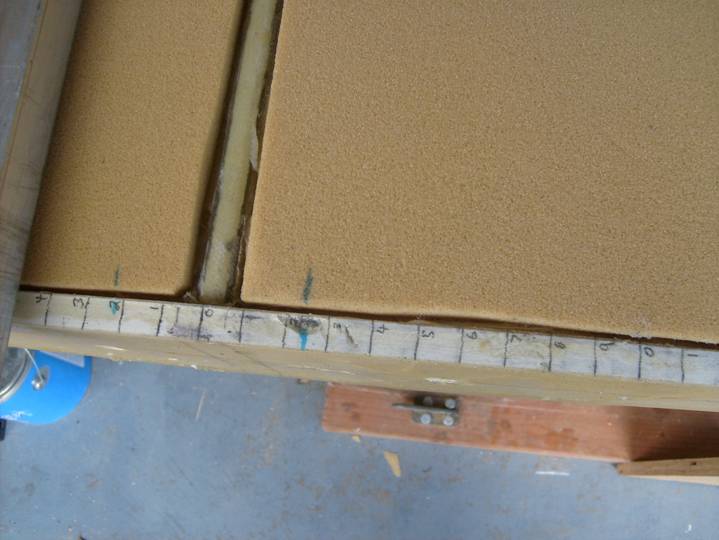
Sanding Reference lines on the G Rib
It is now time to refer back to the shaping of the bottom skin foam and shape the top skin foam in a like manner.
Done