Chapter 7 - The Wing
Section 5 - Wing Top skin
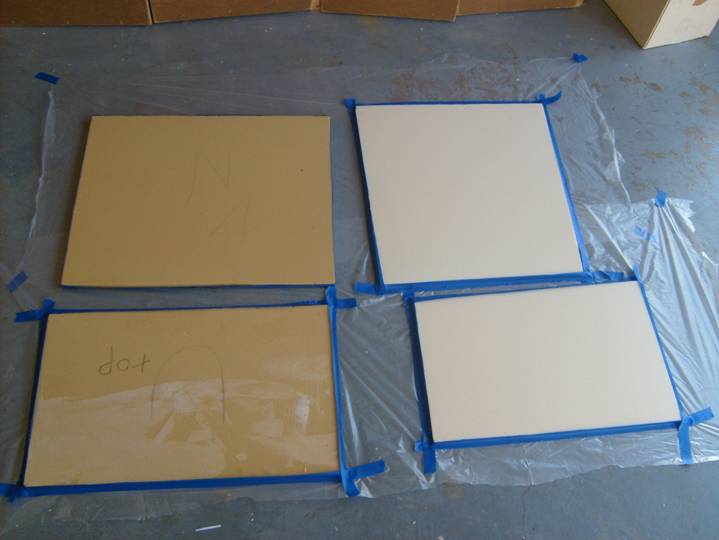
Wing top skin preperation
Preparing top skins
Cut squares of 2 lb 1/2 “ last-a-foam slightly larger than required to close out each bay. Label them so they do not get mixed up, this couild save you wasting foam. Slurry and glass one side (the inside fo the bay) of each sheet with a single BID. It is important to be careful that resin does not drip down onto the side that is to remain un-glassed as this side will later be sanded to shape. Resin coated foam is very difficult to sand to shape without sanding too much the surrounding foam. I would wrap the ends of the foam in blue painters tape and then tape them to the plastic sheeting to prevent resin from dripping through.
Slurry and Glass one side of the wing skin panels
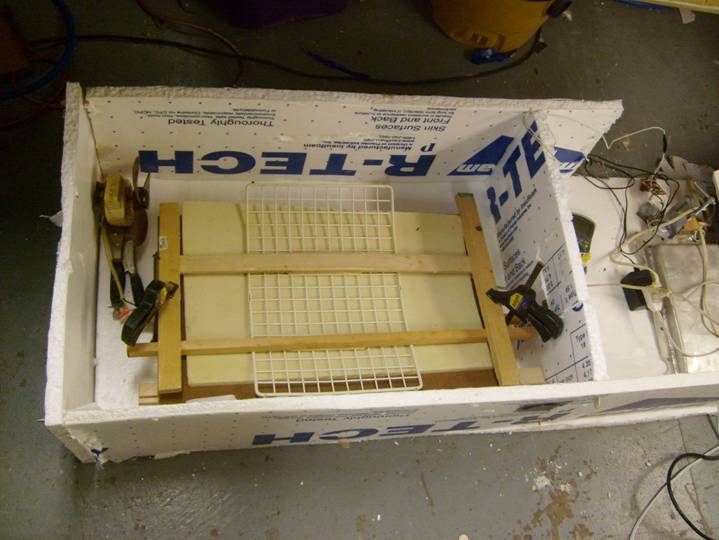
Each panel will be post cured before it is attached to the wing. Make a form as shown in the following photos that will put a curve in the panel while it is being post cured. This curve will set and make installing the panels much easier. If the panel does not have a natural curve, it will dip in the middle and you will not get uniform wing skin thickness. Post curing is best accomplished about a month after the panel has been glassed and naturaly cured, so plan ahead.
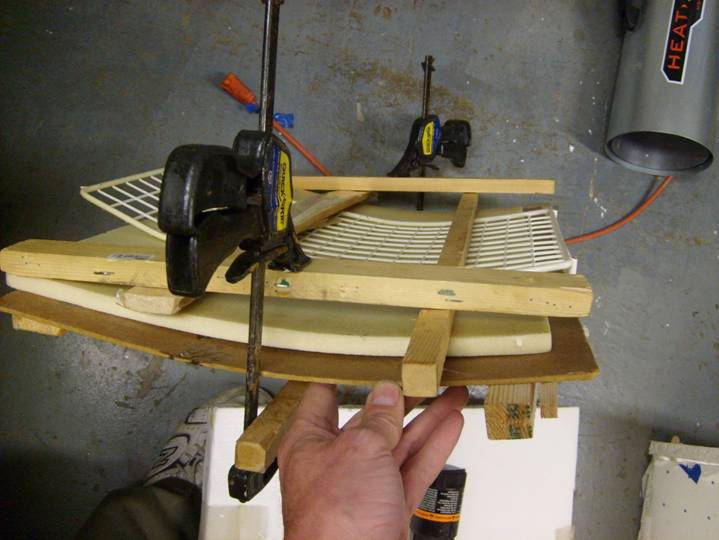
Simple wooden form to hold panel in curved position for post curing.
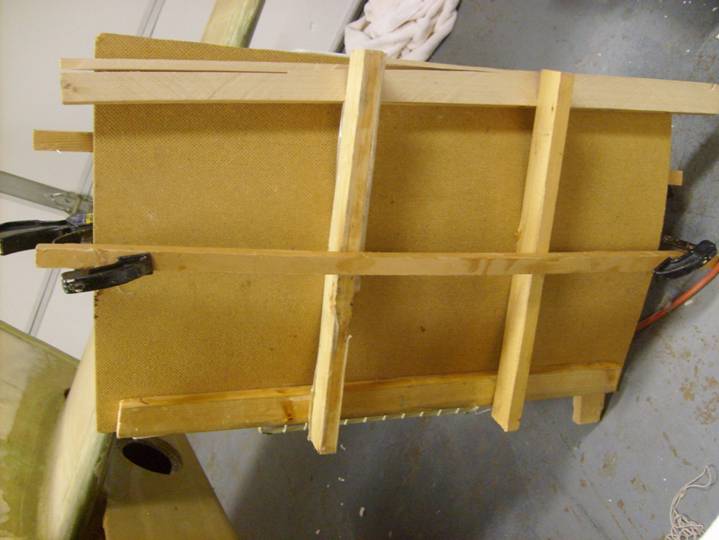
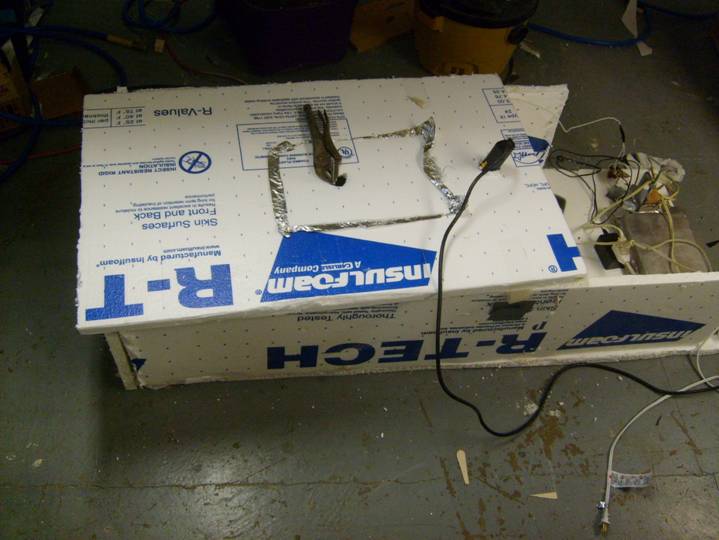
Back side of form
I used a plastic coated wire grill that I found at target for drying dishes as the inside form. I made the outside from a small sheet of masonite and several strips of wood.
Use a small post curing oven to cure each panel, 4 hours at 150 degrees.
Post Cureing Oven
Panel inside post curing oven
Post Curing in process
Once all of the panels are post cured, they are trimmed to fit into the top of each of the bays. Leave about 1/8” gap is left all the way around.
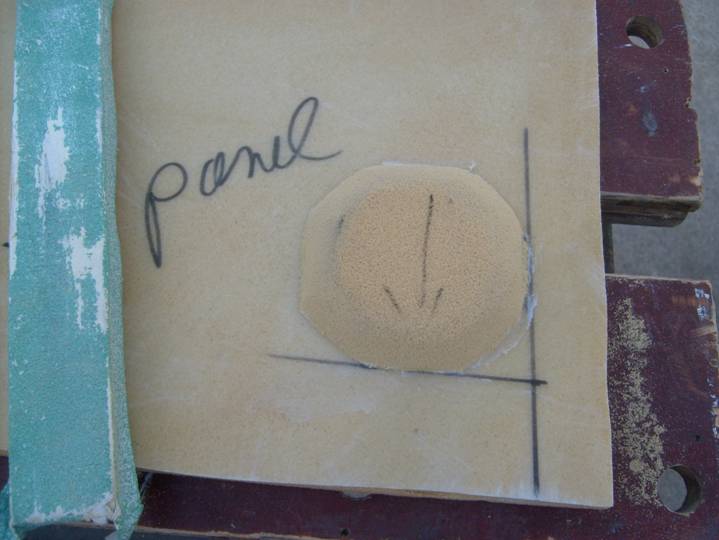
One panel requires a bit more preparation than all the others,the panel that has the fuel cap located in it, and is shown below after the wind has been sanded to shape. The fuel cap is located in the outboard fuel cell, toward the wing tip and toward the spar—this is the highest point in the fuel cell. Review the following photos.
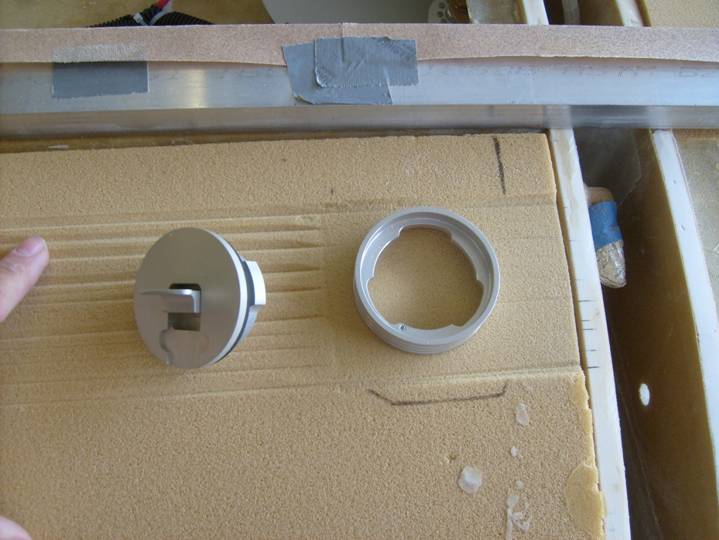
Finished Fuel cap installation
We want the fuel cap to end up being flush with the sanded top wing skin. The fuel cap is located as high in the fuel bay as we can without interfering with the flanges that will bond the panel. Use a sharpie to mark the location of the flanges on the top side of the panel, then mark the location of the fuel cap and additional inch away.
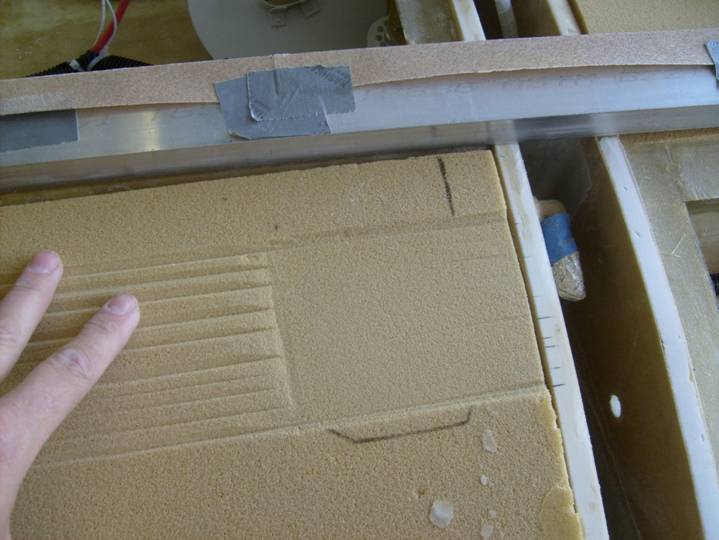
Since the wing is sanded to shape after the wing panels are bonded into place we will have to sand the area where the fuel cap is located before the rest of the wing is sanded to shape. Since the panel has been post cured to a curve the panel will fit nicely onto the flanges of the fuel bay. Use the long sanding bar as we did in shaping the bottom of the wing to sand parallel grooved into the top skin over the outermost fuel bay. Use a sanding block to sand just intil the grooves disappear.
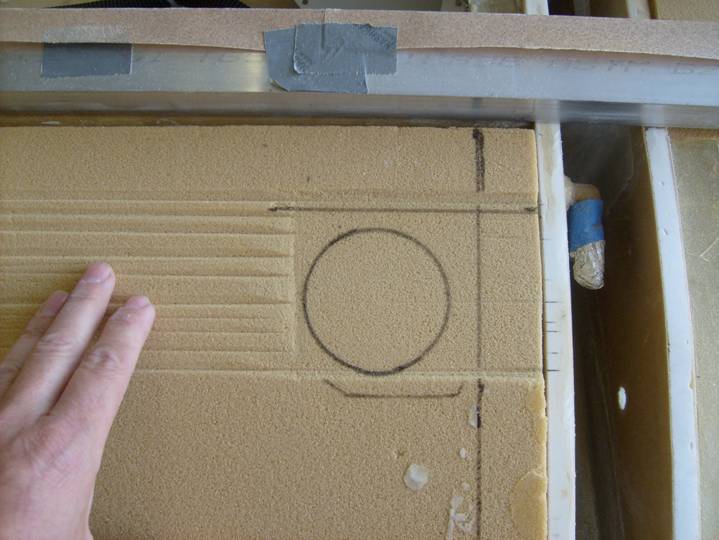
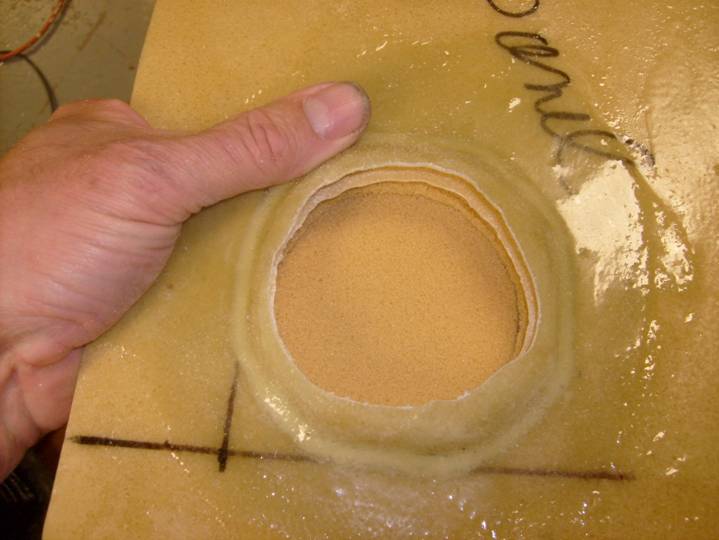
Area of the Fuel cap sanded to shape
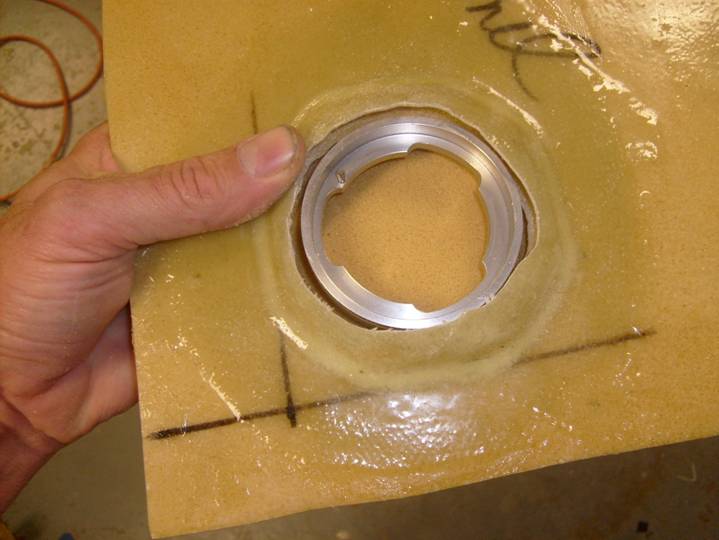
Proper location of the Fuel cap
Mark around the fuel cap flange
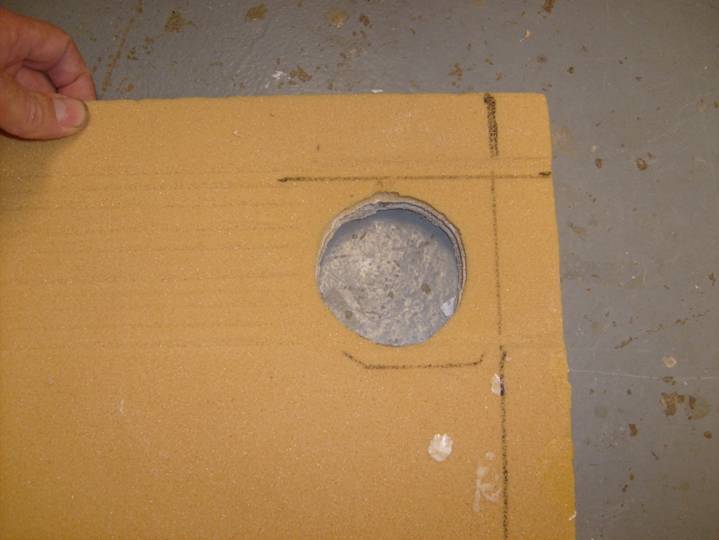
Cut a secondary block of 1/2" last-a-foam and inch larger than the fuel cap flange. Trin the cornors as shown. This will be installed on the bottom side of the skin lined up with the flanges, that is we do not want it to interfer with the flanges when the skin is installed.
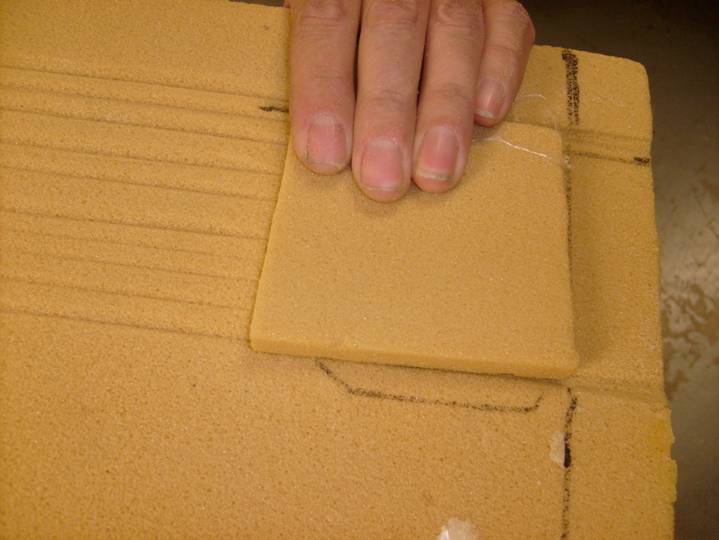
Secondary foam block
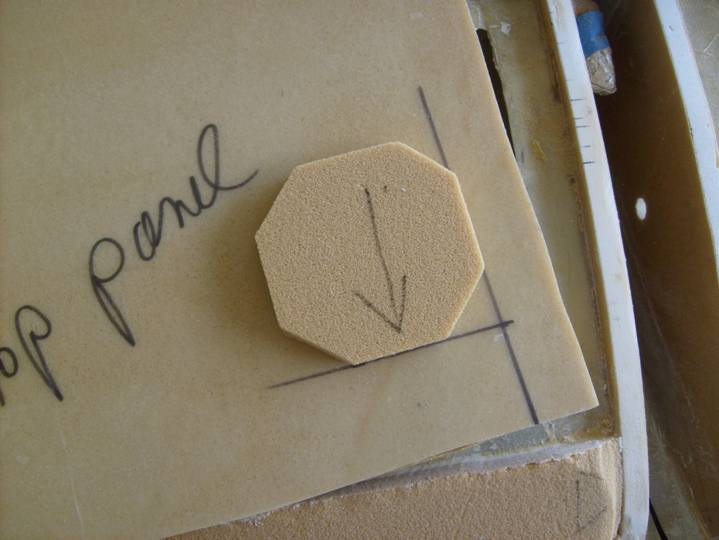
Foam block trimmed to size
Foam block bonded into place and bevel sanded around edge
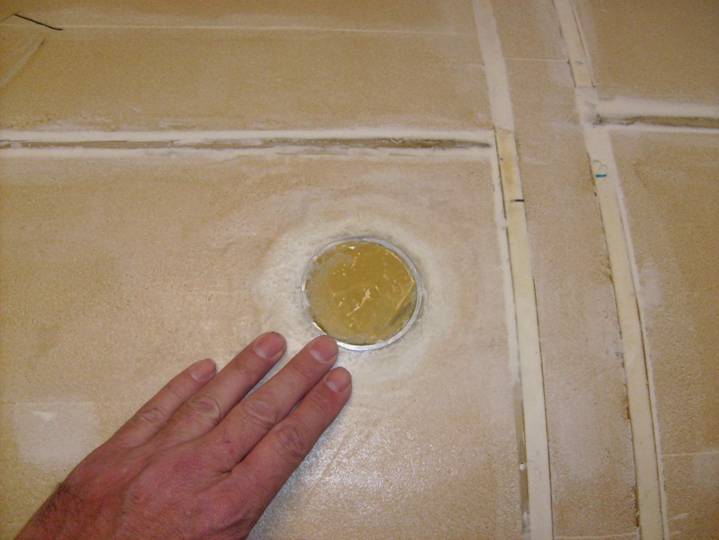
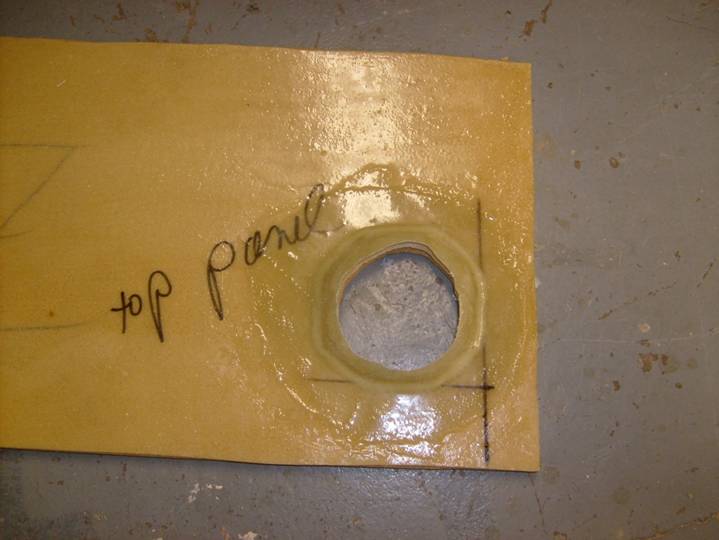
Cover in two layers of BID, let cure. Cut the hole for the fuel cap.
Cut hole for the fuel cap flange
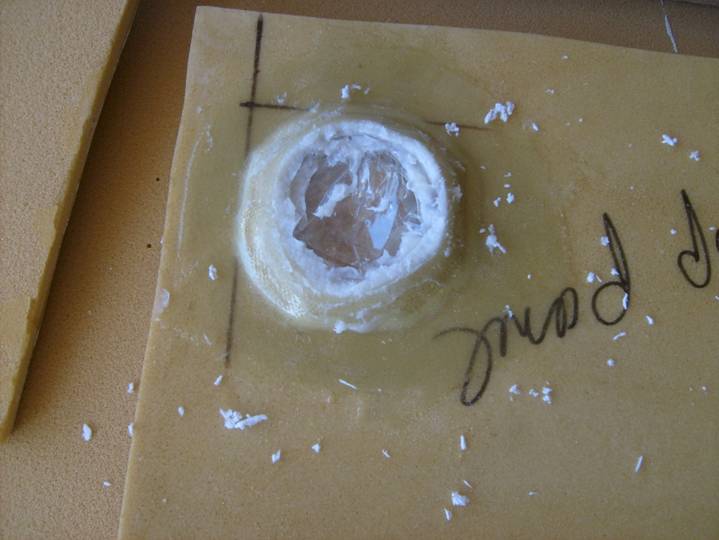
Bottom of panel with hole cut
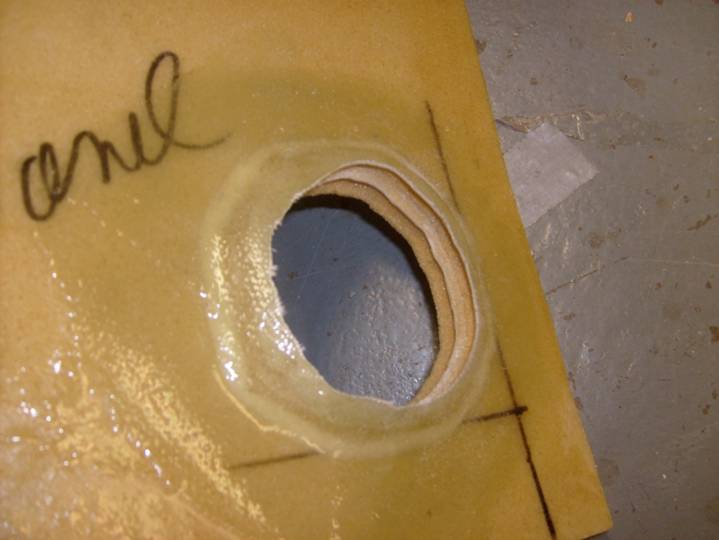
Remove foam around the hole
Use a sheet of foam to level the fuel cap flange with the top surface of the wing skin.
Fuel cap in proper position
Use a flox and epoxy mixture to bond in the fuel cap.
Floxing fuel cap into position
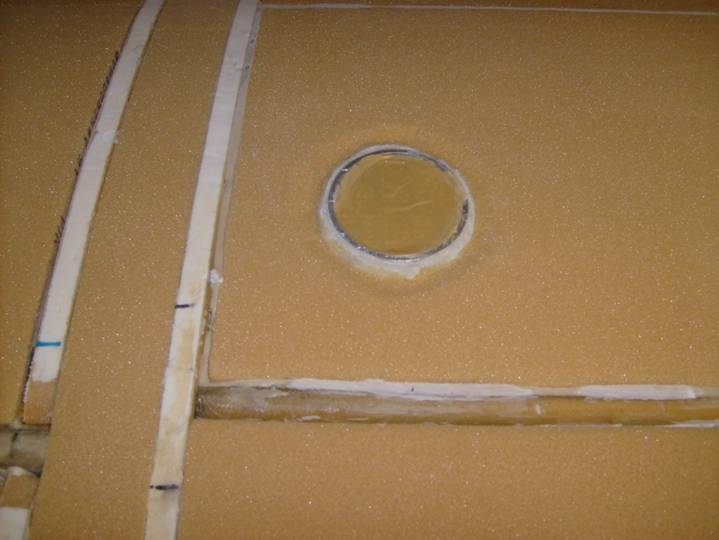
Fuel cap after entire wing surface is sanded to shape

Fuel cap after wing is slurried, but before it is glassed
Done