Chapter 7 - The Wing
Section 2 - Ribs
Fabricating the Ribs
This begin the wing assembly we will need to complete the main spar, outboard spars, the aft spars and the wing ribs. Here we will begin construction of the wing ribs. Before we begin let us review the wing layout drawing and notice that there are seven and a half ribs on each side of the wing which we will refer to as A through G. The A rib is the most inboard rib, the G rib is the wing tip rib and the B and BB ribs are special as they help support our main gear leg. With the exception of the ribs that support the main gear legs, the ribs are fabricated from ½” last-a-foam. Our first order of business is to layup the panel stock that the ribs will be cut from. One and a half sheets are required to make all of the ribs. Take a single 96" X 24" panel and a 48" X 24" panel and layup a single layer of BID on each side. Use our standard techniques in prepping this panel.
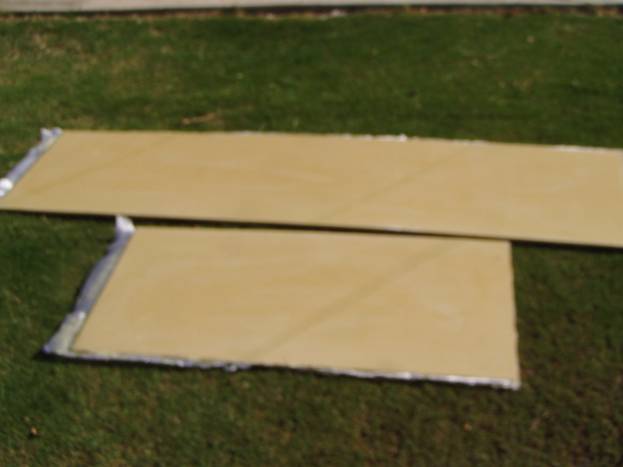
Fuzzy View of the Panels that the foam ribs will be cut from
The next step will be to printout and paste together all of the patterns for the wing ribs.
Print out the following patterns:
- Rib A - part 1 of 3
- Rib A - part 2 of 3
- Rib A - part 3 of 3
- Rib B - Front
- Rib B - part 1 of 2
- Rib B - part 2 of 2
- Rib BB
- Rib C - part 1 of 3
- Rib C - part 2 of 3
- Rib C - part 3 of 3
- Rib D - part 1 of 3
- Rib D - part 2 of 3
- Rib D - part 3 of 3
- Rib E - part 1 of 2
- Rib E - part 2 of 2
- Rib F - part 1 of 2
- Rib F - part 2 of 2
- Rib G - part 1 of 3
- Rib G - part 2 of 3
- Rib G - part 3 of 3
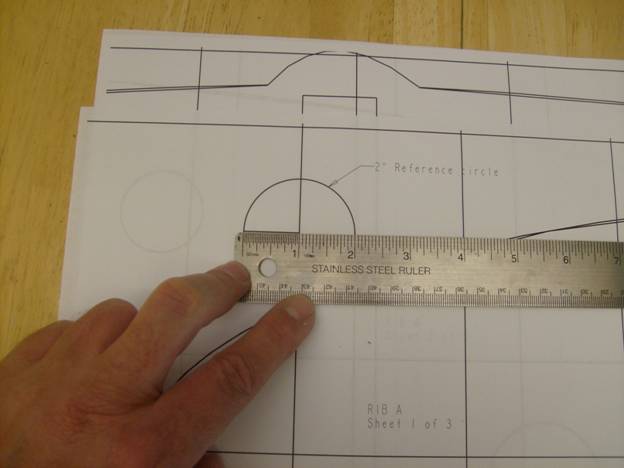
Reference Circle on some of the patterns insure there has been no paper shrinkage
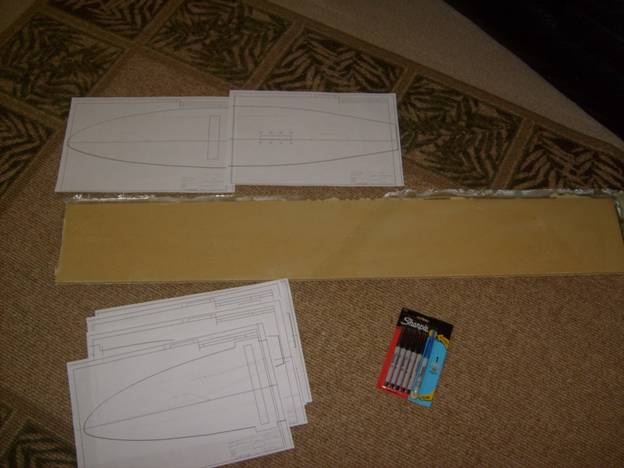
Ready to start marking up the rib blanks
Use a scroll saw, band saw, exacto knife or packing knife to cut the pieces out. Replace your blades if needed.
Cut the parts slightly oversize, then sand the edges down to the proper size. Lay the parts on the template and continue sanding the edges until the part just barely fits within the black lines. Be careful, it is easy to get carried away with this sanding process and end up with parts that are too small. Finally, copy the level line on each rib. this is the line that run from the tip to the trailing edge of each rib. When the wing is assembled these lines will insure the ribs are level front to back.
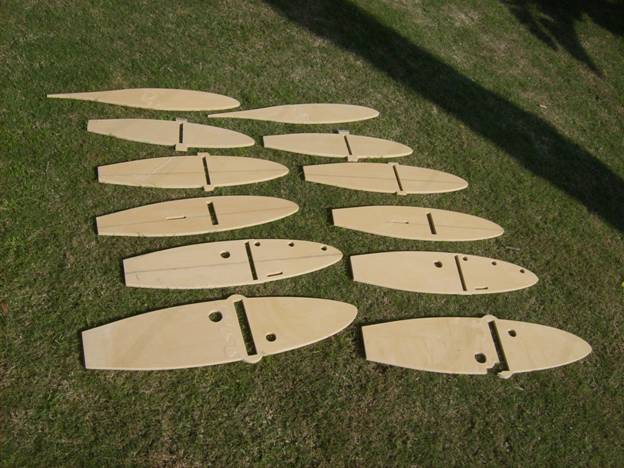
All ribs cut out (except the B and BB ribs)
Once we have the ribs cut out and are happy with the shape we will fill the edges with micro. The ribs define the shape of the wing and need to be durable as we sand down the foam sheeting to the proper shape.
The next series of photos illustrate the process of filling the edges with micro. First, about a quarter of an inch of foam is removed from the end of the rib. The inside fiberglass is scraped with a razor to clean and roughen the exposed laminate. Then a mixture of about 50/50 of glass bubbles (micro) and cabosil is made and spread into the edge. It is easiest to mix in the Cabosil first, then the micro balloons.
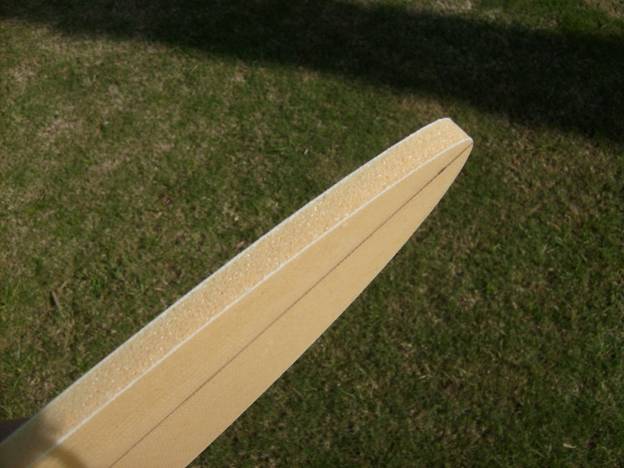
Edge sanded to shape before filled

Simple tool used to remove .25” of foam from the edge of the ribs.
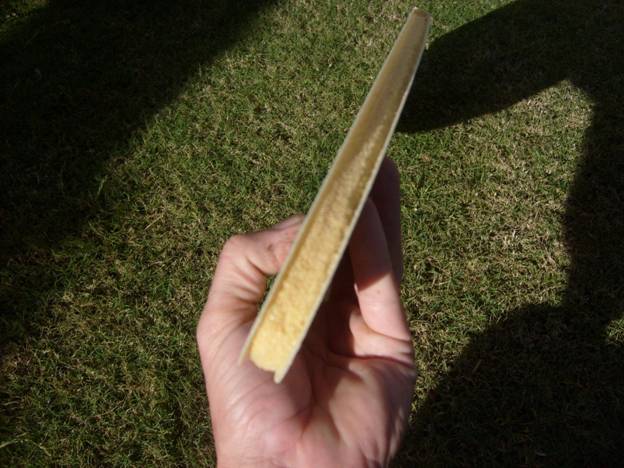
Rib With foam removed from the edge.
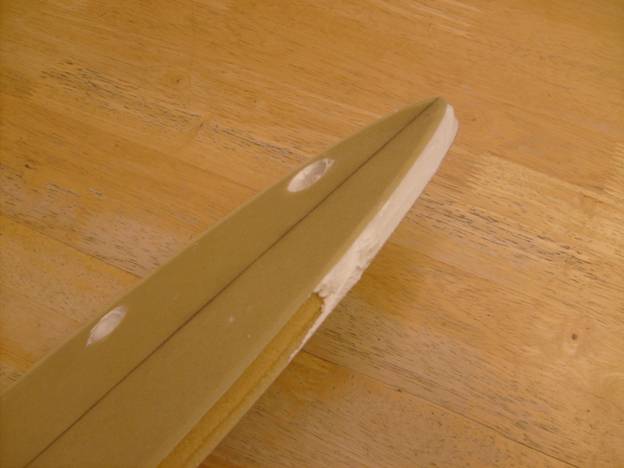
Fill the edges with micro and Cabosil
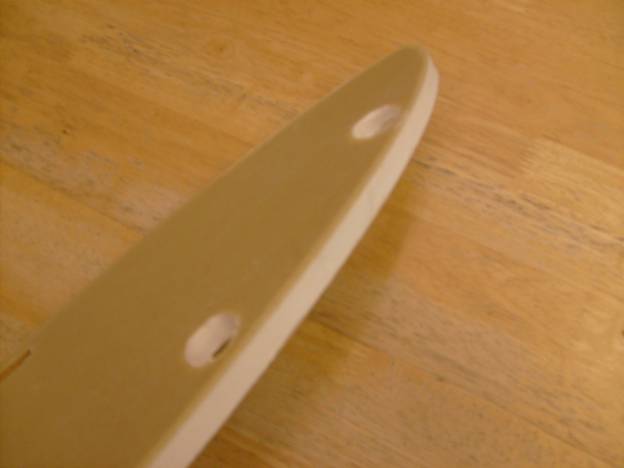
Completed Rib Edge
Carefully sand the edges so the micro is at or below the fiberglass edge. Remember it is the fiberglass edge that defines the outside shape of the wing and must be preserved.