Chapter 7 - The Wing
Section 4 - Wing Internals
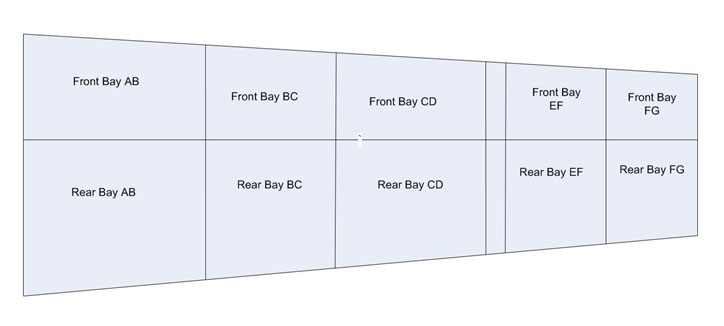
Bay by Bay Review - Forward of the spar---
Before we close the wing let us review each wing bay to insure we are ready. The wing bays are described by the ribs that bound them and whether they are forward of the spar or behind. This section will focus on the bays forward of the spar..
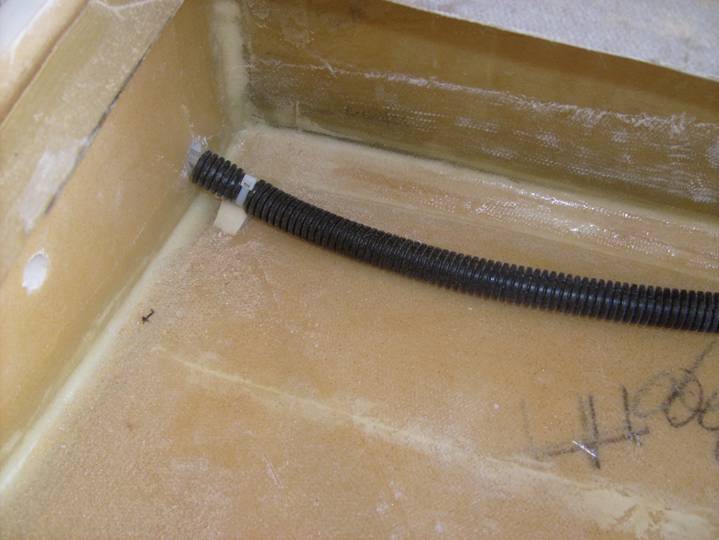
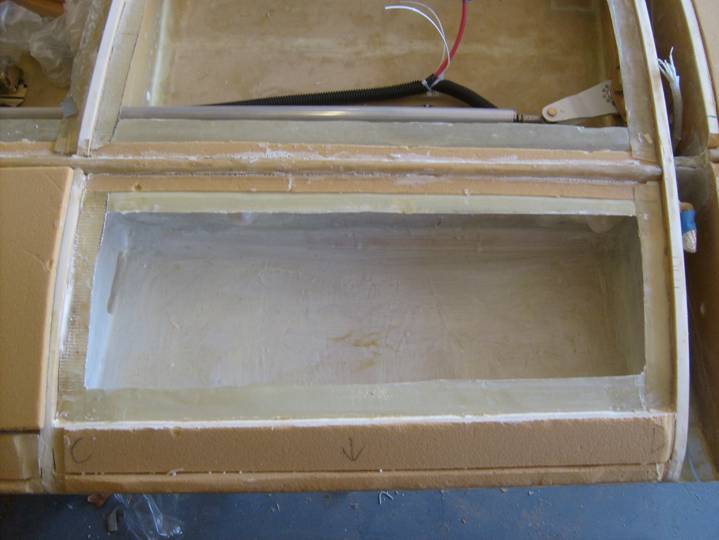
The next photo is the Front FG bay. The front FG bay has the wiring for the wing tip lighting passing through. Insure that the wiring is 1.) protected, especially against sharp edges as those where the wires pass through the ribs. 2.) secure so it will not move. 3) sheathed, fiberglass is abrasive even when just rubbing against the bare insulation in the middle of the bay. Use some type of wire cover as that shown in the photo below. these wires will be difficult to impossible to get at later. Use bonded wire ties as shown in the siring section to secure the wire group throughout the bay and especially at the ribs.
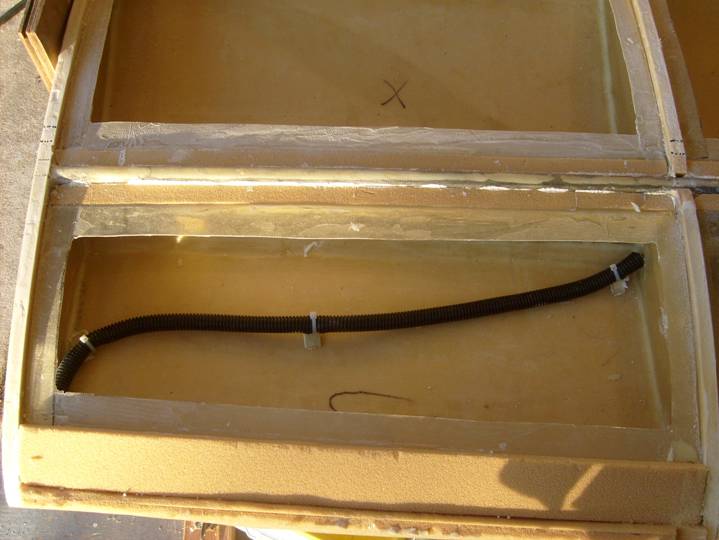
Front FG bay
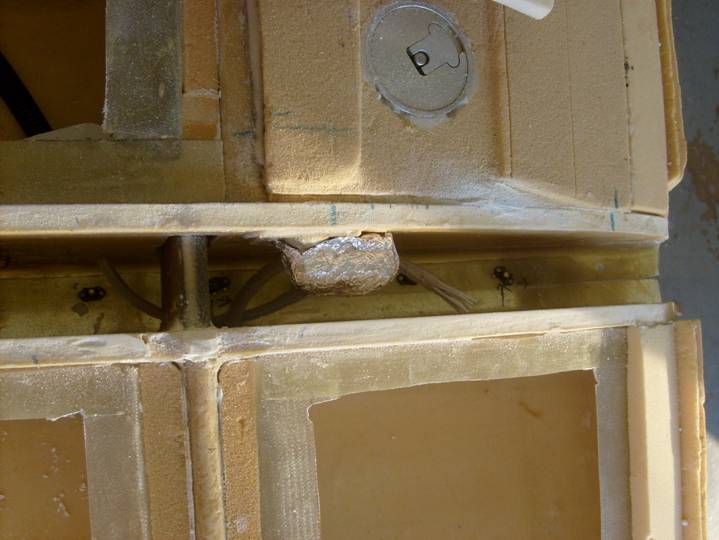
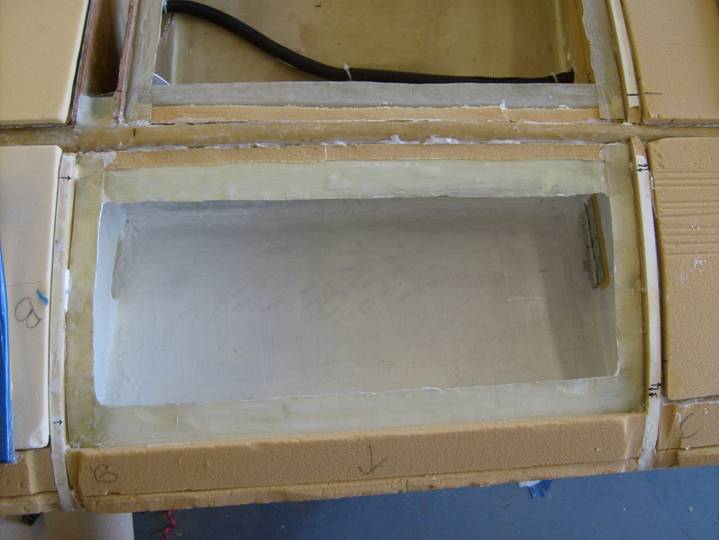
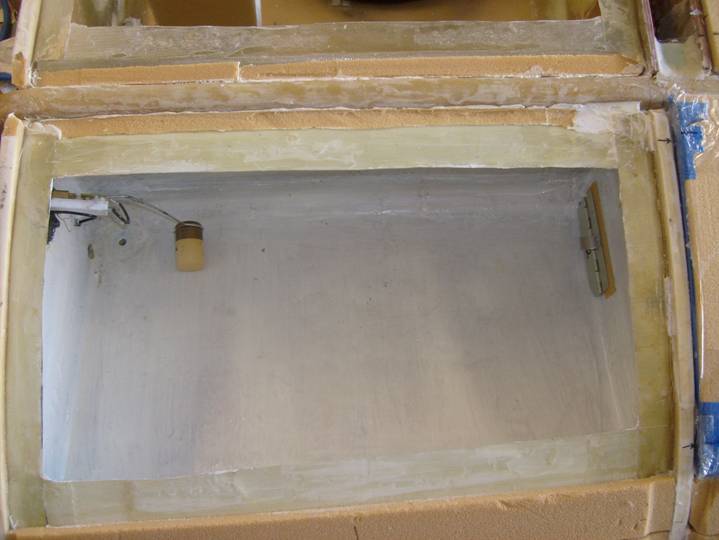
The following photo shows the forward EF bay. Is is similar to the forward FG bay as it has the single wire gorup for the wing tip lighting going through it.
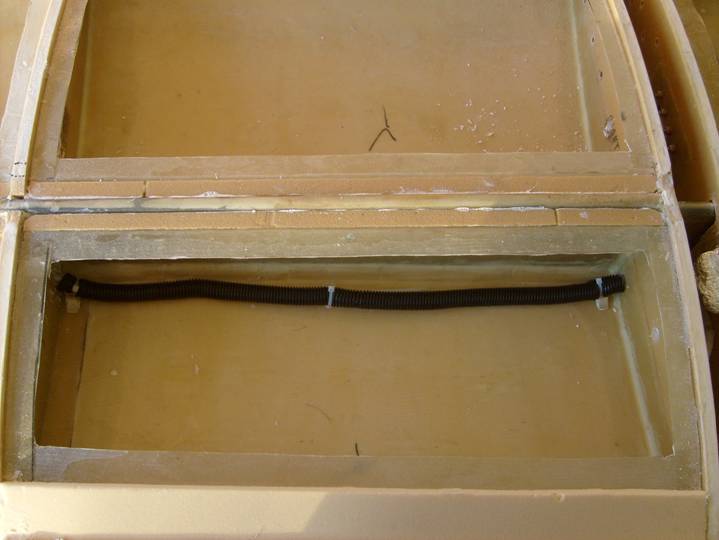
Forward EF Bay
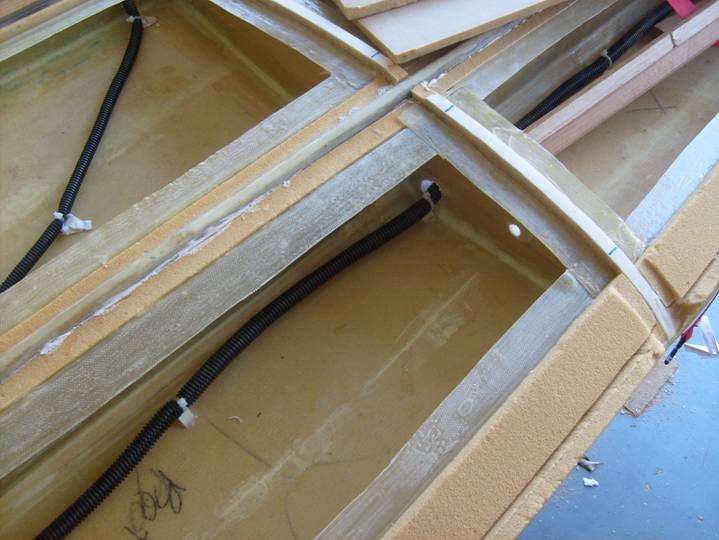
The following two pictures are closeups of the forward two bays in the outboard wing. Notice the air holes (not really neccesary since we have holes for the wires) and the way they are finished with micro. Also notice the wiring, how it is sheathed and has extra protection as it passes through the ribs.
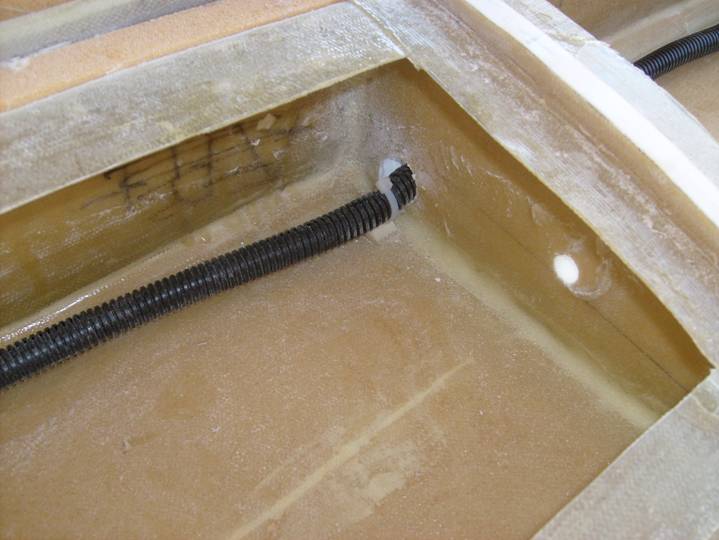
Close Up of Forward FG Bay wiring
Forward EF bay
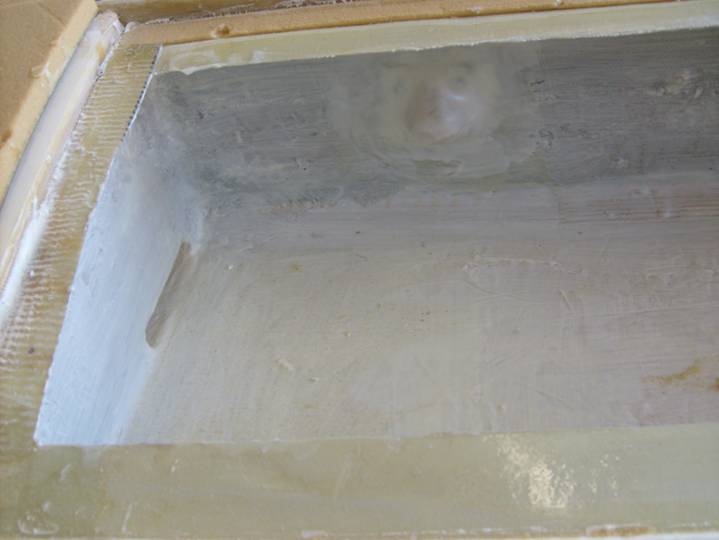
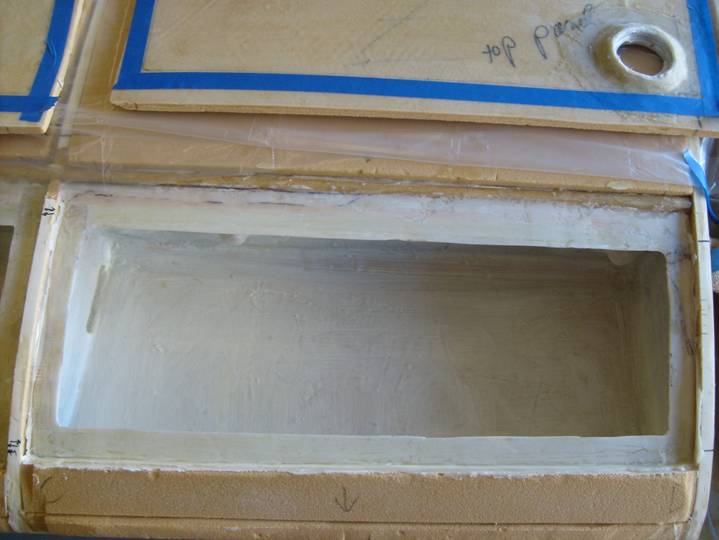
The following is the Front DE bay. Again, not really a bay, but this space will hole the connector for the outboard wing tip wiring and the fuel tank vent. These will be explained later in the final wing installation section.
Front DE bay

Forward EF Bay
Forward EF Bay

Forward FG Bay
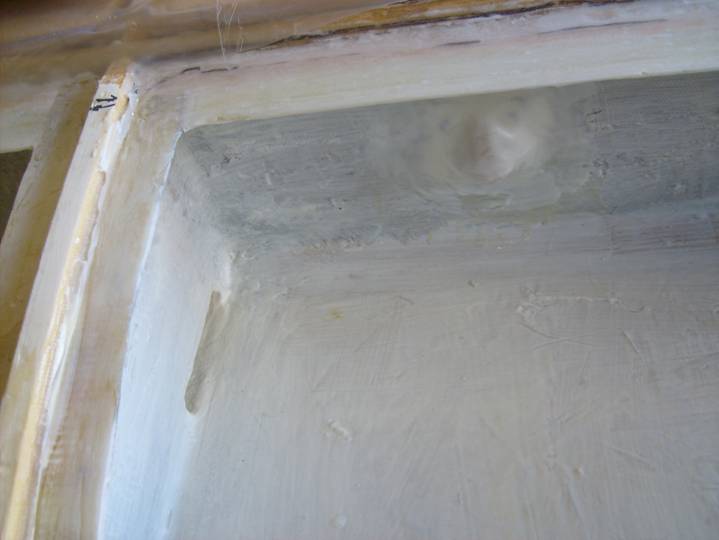
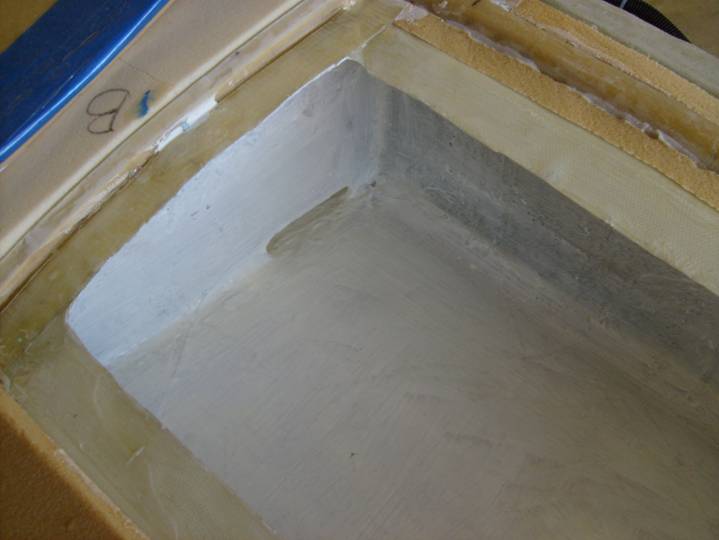
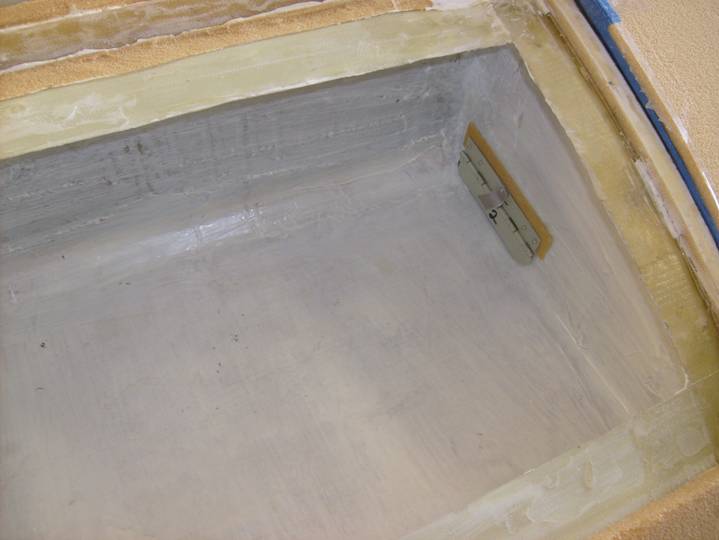
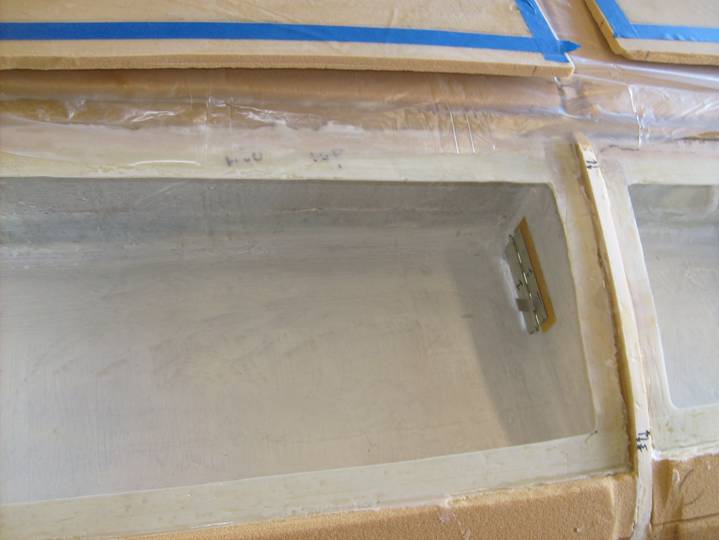
The rest of the front Bays will hold fuel so require special attention during the review. A careful overall inspection of the quality of the tank finish is required. Any suspect pinholes should be sanded and refilled. The vents in the B and C ribs need to be carefully inspected to insure there is no chance of leaks. The flanges are quite close to these vents and there can not be any leaks where the flanges are close to the vent holes. All of the slosh gates need to operate smoothly and the slosh gate stop should prevent them from sticking open. The air vent should be carefully inspected to insure it is well encased in resin and is not plugged. The fuel outlet and drain ports need to be inspected to insure they are well sealed and no resin has worked its way into the threads. Finally, the fuel sender requires special scrutiny.

Forward CD Bay
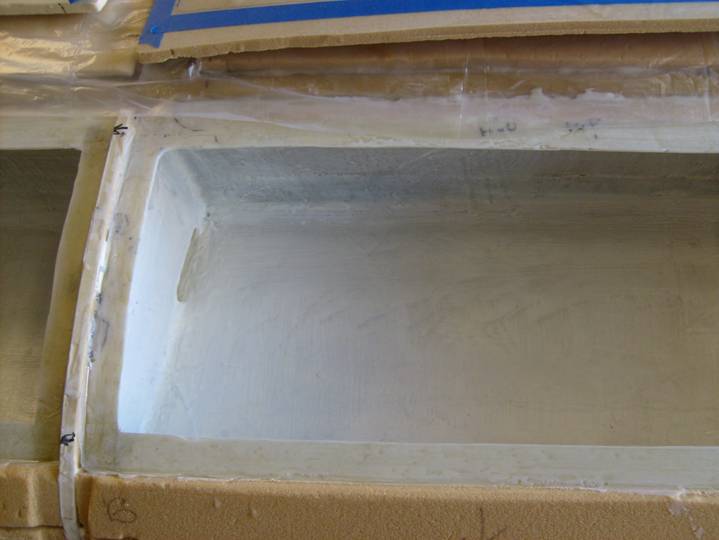
Inspect the fuel ports through the ribs. The CD front bays contain the nut plates for the outboard wing spar attachments.
Forward CD Bay
Forward CD Bay
Forward CD Bay
Forward BC Bay
Forward CD Bay
Forward CD Bay
Forward BC Bay

Forward BC Bay - slosh gate
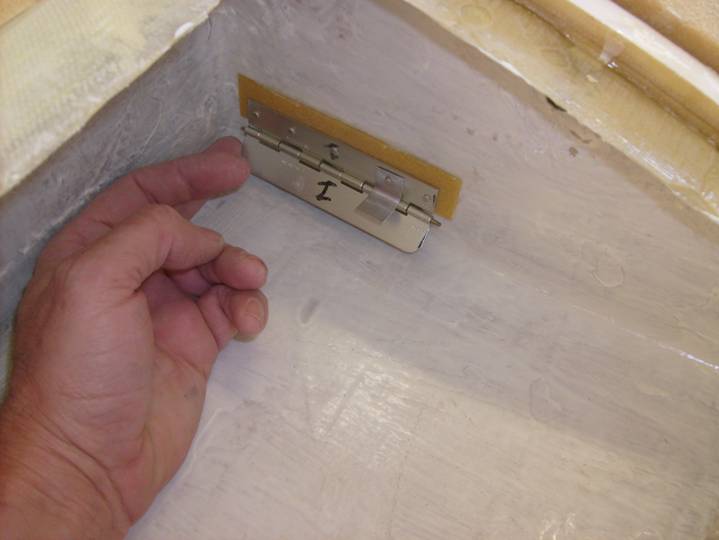
Insure free movement
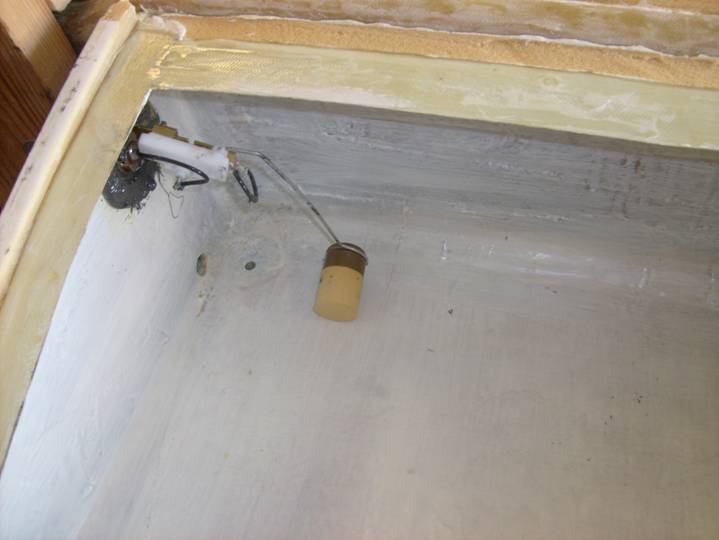
Fuel Gauge Sender
Forward AB Bay
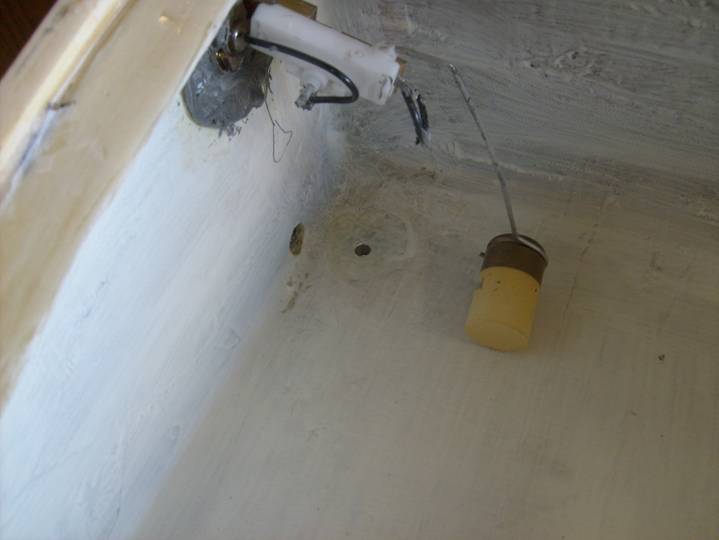
Inspect Fuel Outlet and Drain Hole
Front AB Bay
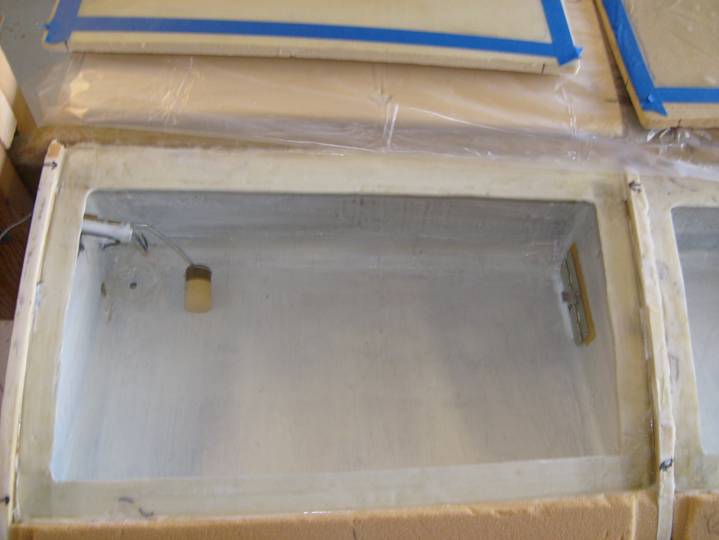
Check Fuel Gauge Sender for full range of motion
Complete.