Chapter 7 - The Wing
Section 4 - Wing Internals
Wing Cleanup
Before we can begin installing the internal parts we need to clean up the wing assembly a bit. To trim the leading edge pencil a line connecting the level line on the G rib with the level line on the A rib. Extend the level line on the G rib onto the front of the leading edge. Do the same with the level line on the A rib. Then, using the laser level to paint a line between the two, mark the line with a sharpie. Use a rotary cutter to cut just into the fiberglass and remove the strip above line leaving the underlying foam intact.
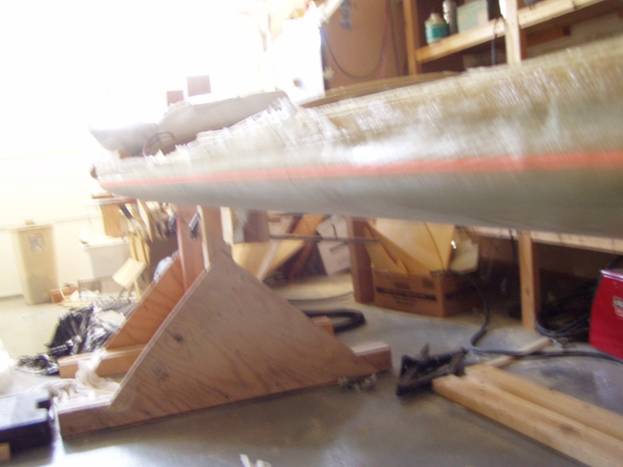
Laser painting the leading edge level line
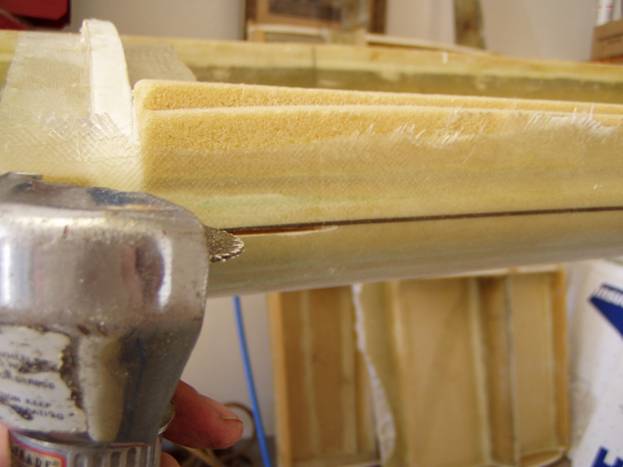
Rotary cutter to remove unwanted fiberglass
Take this opportunity to clean up the fiberglass in the bays. There should be no loose epoxy edges or fiberglass. All holes through the ribs should be clean and sanded and there should be no exposed foam core. We will want to sand the fiberglass on the aft side of the leading edge and the fore side of the trailing edge and both sides of the spar in anticipation of creating the flanges for the top skins. Enlarge the fuel passage holes at the base of the forward B rib and C rib. They should be 4 inches wide and ¾” tall. The forward side is located correctly; increase the size of the slot toward the aft side of the wing.

Enlarge the fuel slots in the lower B and C ribs
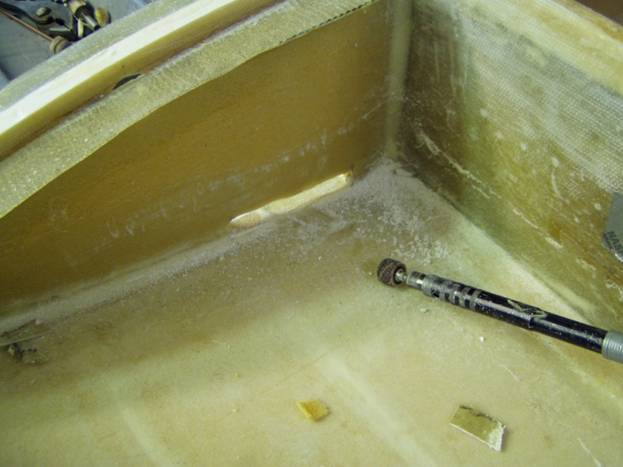
Enlarge the fuel hole
Once the holes have been enlarged remove a quarter of an inch of foam all the way around and fill with a thick micro paste mixed with a little cabosil to keep it from dripping.
The hole in the B rib that allows the aileron control tube to pass through needs to be enlarged. The aileron control tube needs to clear the rib by a 1/4" in all directions through the full range of motion of the control tube. This will be done when the aileron control system is installed.