Chapter 7 - The Wing
Section 3 - Wing Assembly and Bottom Skin
Glassing the Wing
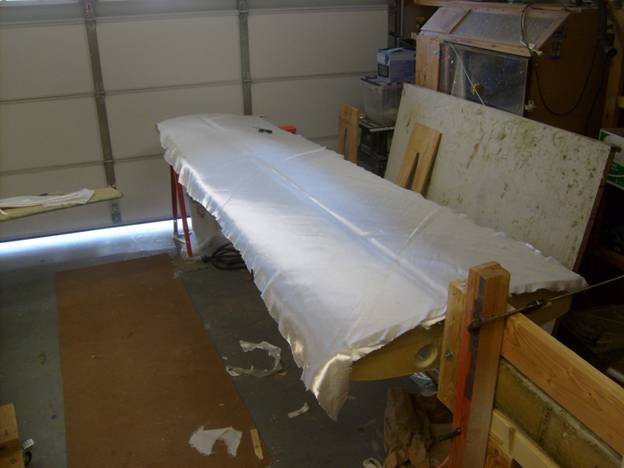
The wing is glassed with two layers of UNI running 45 degrees with the spar and 90 to each other. The forward section of the wing from the leading edge to about 5 inches behind the spar is then covered in a single layer of BID. The layers of UNI do not need to overlap, but the joints of the BID needs to overlap by an inch or so. Where we overlap the BID we need to sand a small joggle into the skin so this joint does not stick up above the surface once cured . Once glassed, the entire surface is covered with peel ply so we get a nice surface and the glass fibers are buried below a thin layer of epoxy. This way we can sand and finish the wing surface without cutting into the glass fibers.
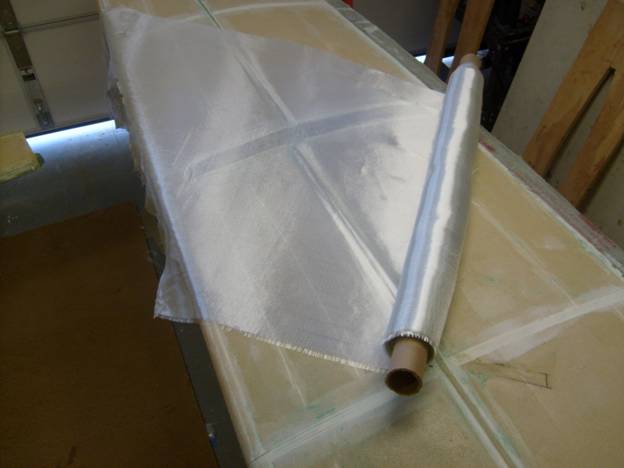
Slurry the surface and roll out a single layer of UNI.
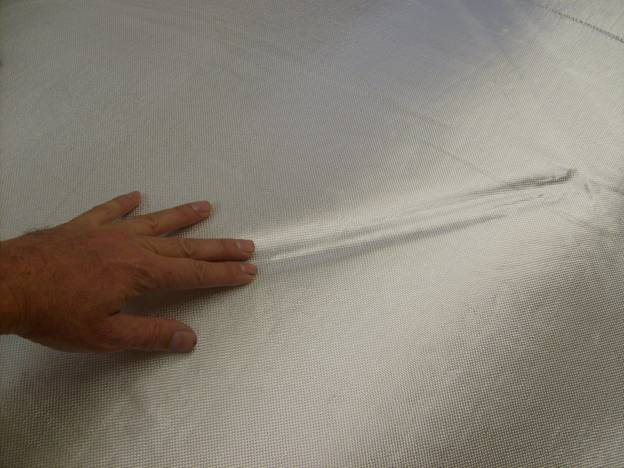
2 layers of uni rolled out on wing
You can roll out two layers of UNI before you apply the epoxy or you can epoxy each later as you go. If you roll out the glass before you apply the epoxy, it is easier to position the UNI. However it is more difficult to get out all of the air bubbles. It helps to use a layup roller, squeegee and your fingers to massauge the epoxy into the glass, just as you would shampoo into your scalp.
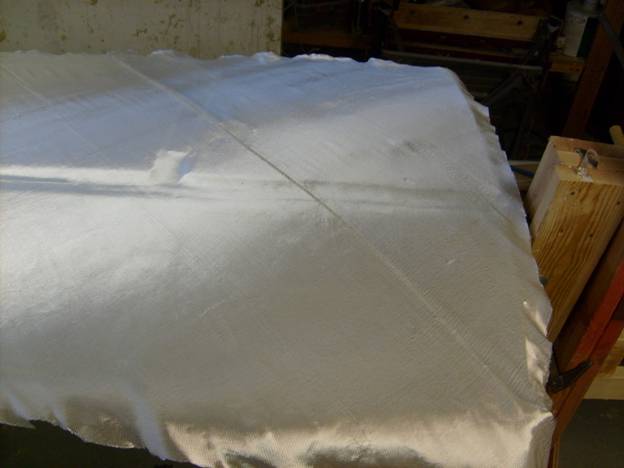
The UNI does not need to be overlapped because the glass strand all run the same way.
Inusre that the UNI makes solid contact with the spar.
Work this area with your fingers.
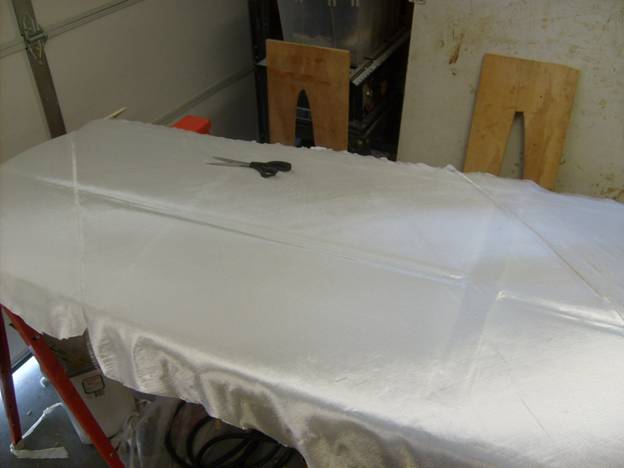
Once the skin has cured, remove the peel ply and using a sharpie draw a line down the spar.
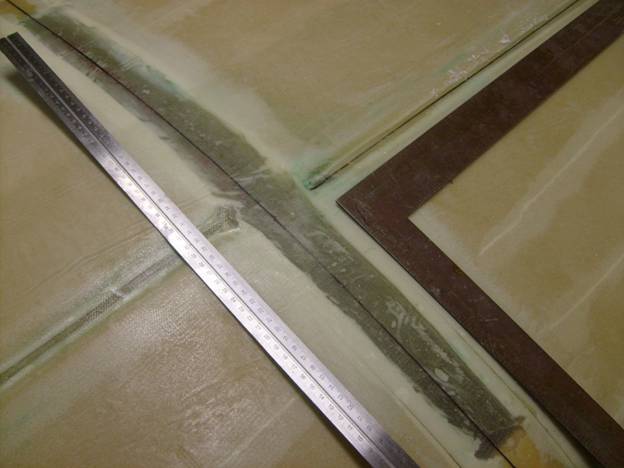
The line on the skin between inboard and outboard wing sections
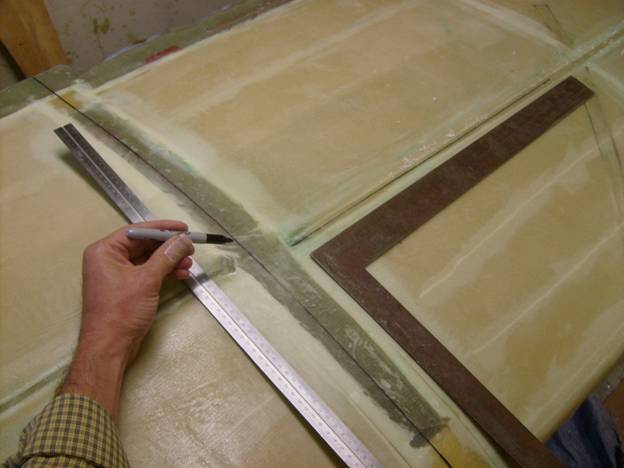
Then draw another line between the inboard and outboard wing sections, 1.25 inches from the outside edge of the inboard rib. Insure that this line is perpendicular to the line you drew down the spar. Do not use the rib as a reference as it may not be exactly perpendeicular to the spar, or may waver a bit. Use a small rotary tool to make a straight cut on this line, use a bare hack saw blade to cut through the leading and trailing edge. Keep clear of the spar, do not take a chance on nicking it. Note you do not necessarily need to separate the wing sections. These were designed this way ti make it easier to build the plane in a two car garage. If you are building in a hanger, for example, and want to have a single piece wing, you do not need to separate the inboard and outboard wing sections. The wing will be harder to handle for painting and finishing, but that is the trade off for having a cleaner looking wing.
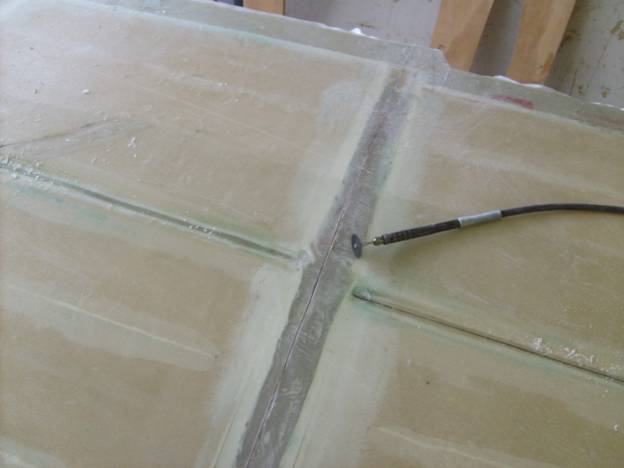
Separate the outboard spar from the inboard spar. Congratulations, you have completed a major assembly step. We will now flip the center wing section over and finish off the internal features, then attach the wing to the fuselage.