Chapter 7 - The Wing
Section 3 - Wing Assembly and Bottom Skin
Shaping the Foam Wing Skins
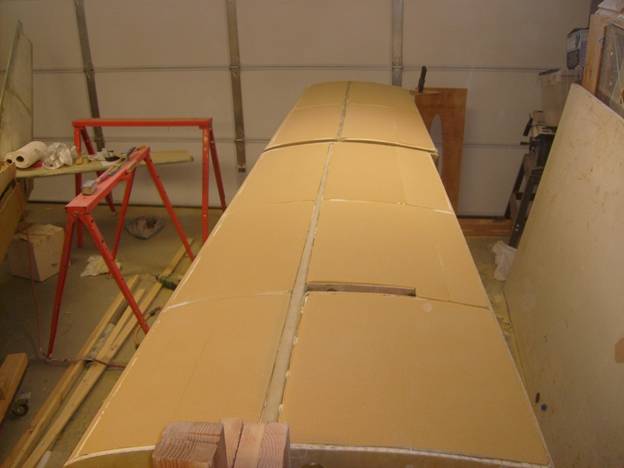
Once we have the inside of all of the wing bays glassed, flip the wing over. It is time to shape the wing to the proper contour. We will primarily rely on the A rib and the G rib to define the shape of the wing. If we mounted the other ribs correctly, they too should be lined up with the A and G, but if one is slightly out of alignment, it will be sanded down to conform to the reference shape of the A and G ribs. If you have not done so already, trim away the rib sections connecting the forward to the aft halves.
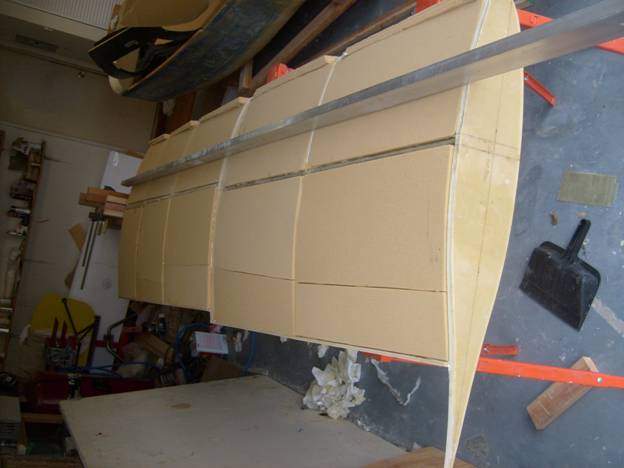
Wing flipped
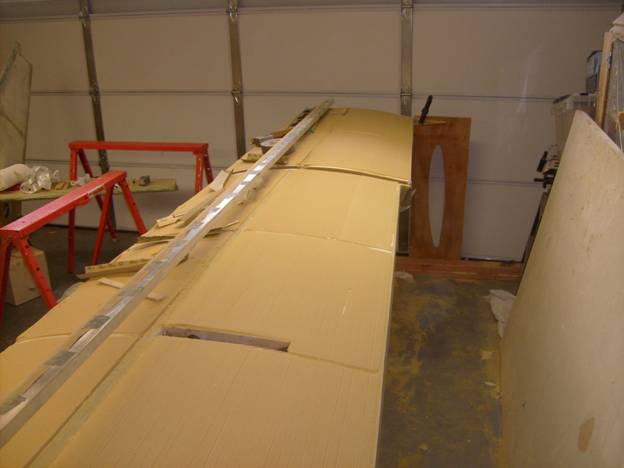
Sanding Long Board
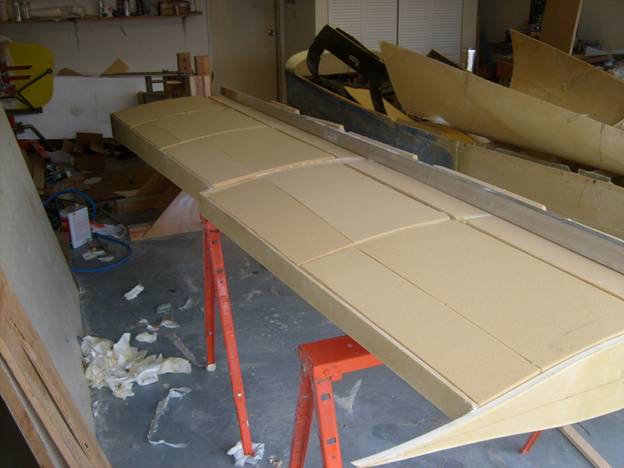
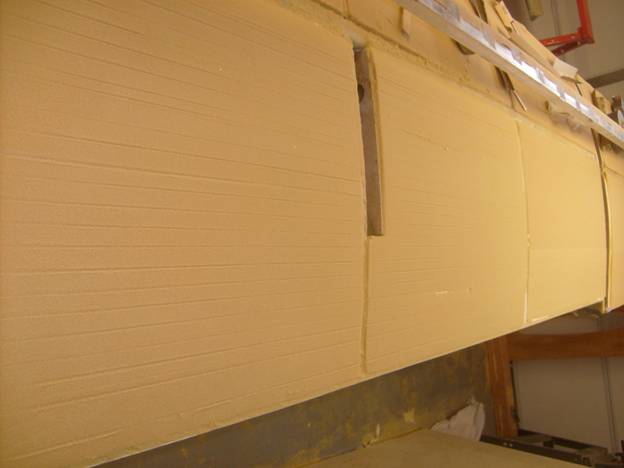
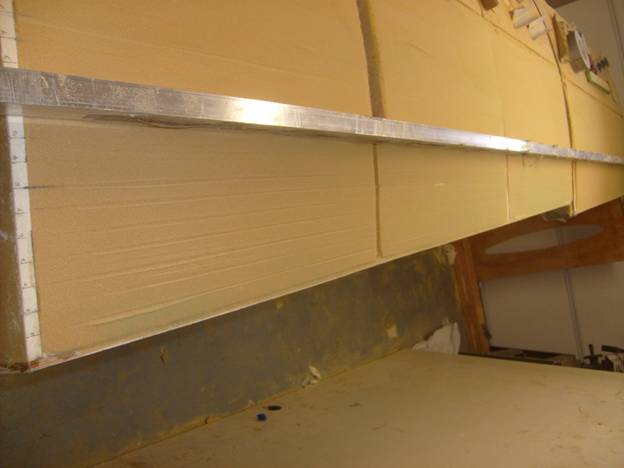
Secure the wing well, as we will be applying some force with our sanding board and need the wing to be stable. Insure that each of the ribs has its level line level. The G rib will have to be supported as the wing will begin to take on a twist as it gains weight.

Notice the support at the G rib insuring wing is level.
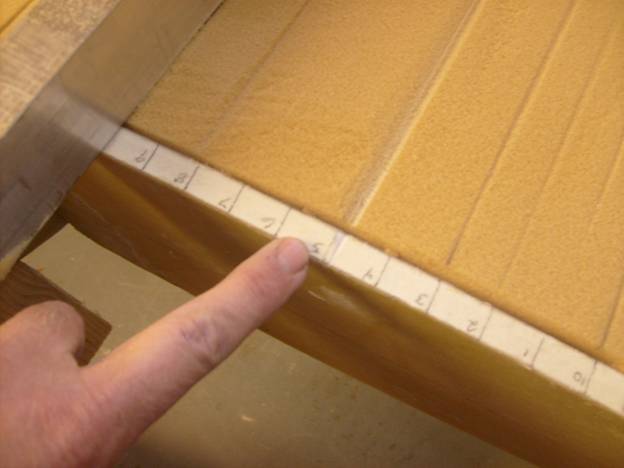
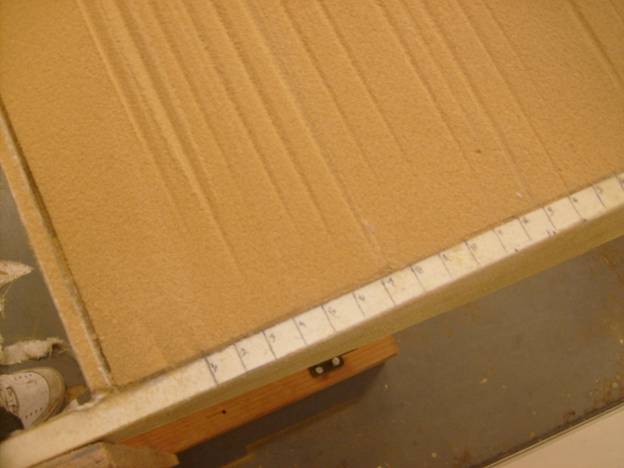
Our next job will be to draw a series of refernce lines on the A and G ribs. These will be labeled so we insure that our long sanding board is always properly oriented from root to tip. Lay the long sanding board so it is aligned with the back side of the main spar and have it extend from wing root to tip. This line is our master refence line. Mark this master refence line on the A and the G ribs. Now draw lines forward and aft toward the rib front and back at even intervals. The lines need to be an inch apart on the A rib and .625” apart on the G rib. Label each of these reference lines so you know which ones are paired. Refer to the pictures below. I labled them 0,1,2…9,0,1.. ect.
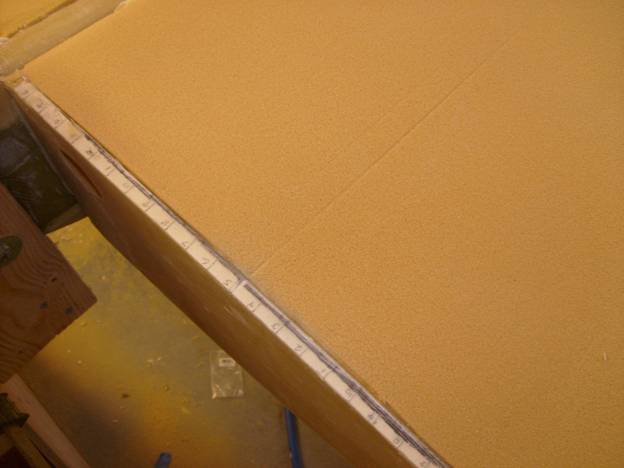
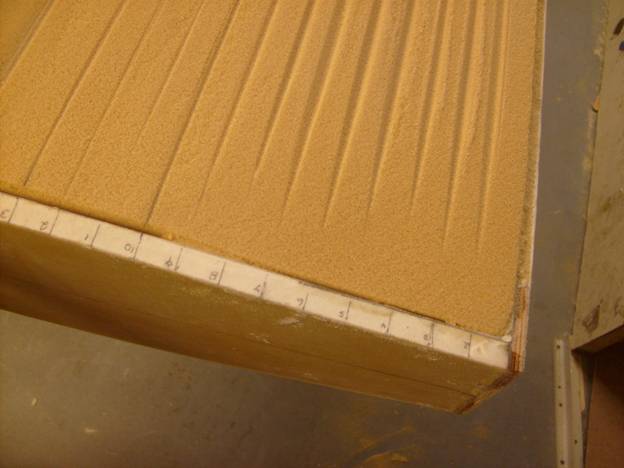
Refence Lines drawn on the A Rib

Refence Lines drawn on the G rib
Using the edge of the long sanding block, sand notches into the foam between each of the reference marks. The sanding block should not have sandpaper where it contacts the A and G ribs—do not sand notches into these ribs.
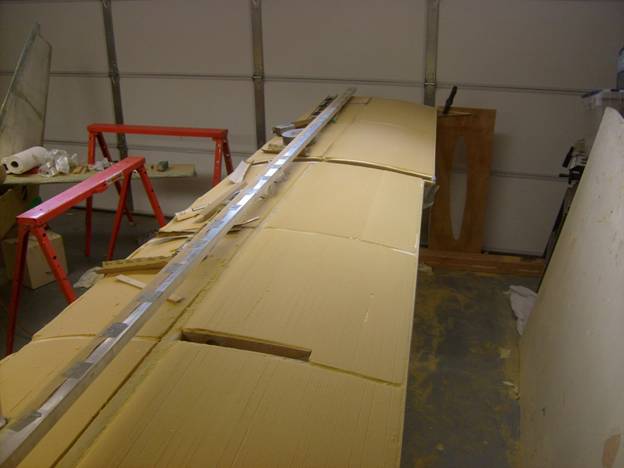
Sanding notches running root to tip
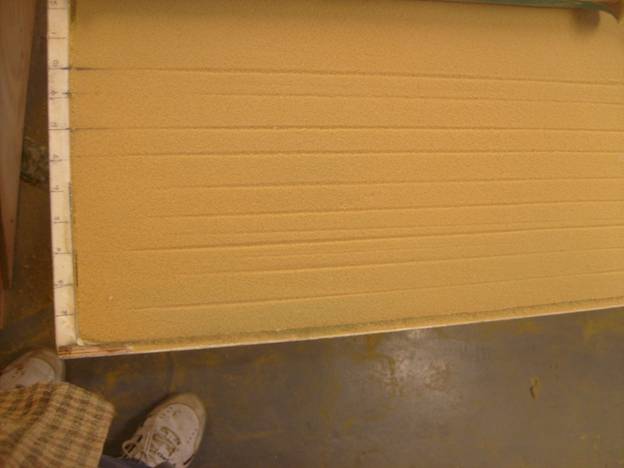
Use a smaller sanding block, about 12 to 18” in length and sand the foam down until the notches JUST disapear. Always keep the block oriented so it is parallel with the notches. You can repeat the process of sanding a set of notches with the long board, then sanding the rest of the foam surface till they JUST disappear.
A complete set of notches sanded into the foam
Below is a picture of one of my notches that went too deep. Do not sand the rest of the foam to this notch. Leave it be and approximate where you think the wsurrounding foam should be.
Opps, sanded into the rib
Notice in the photo below how that notch was left too deep.

This notch will remain as it is too low
Below are some photos of the notches sanded with the long board edge.
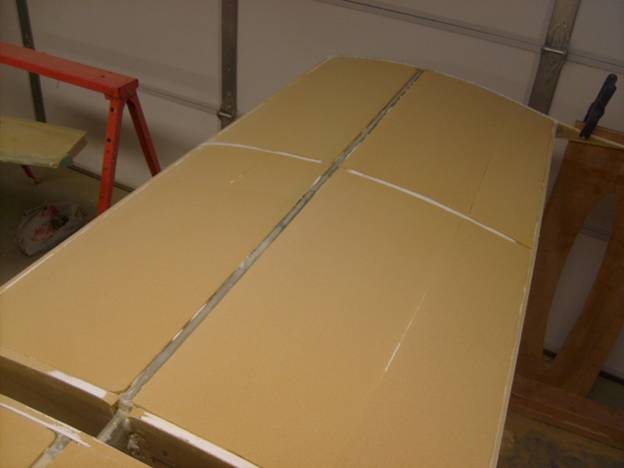
Wing sanded to shape
Once we have sanded our wing to the proper shape, it is time to flip it back over and add the trailing edge flange and the flange between the inboard and outboard wing sections.
Flip the wing over so the freshly sanded side is down. Cut sections of masonite about 6" wide and three feet long. Cover these sections with layers of packing tape to act as a release agent. We want to create a flanged section between the inboard and outboard wing sections. Clamp the masonite strip across the gap between the inboard and outboard wing sections. Prepare the inside area of the D and E rib a couple of inches from the bottom edges by roughing up with sandpaper and cleaning with acetone. Then clamp the length of masonite to span the joint. Layup a 2 layer BID fiberglass to span the gap between the D and E ribs and extend an inch or so up the side of the two ribs.
Next we want to create a flange off of the aft spar rearward following the shape of the wing bottom foam skin. Clamp one of the masonite flanging strips to the bottom of the wing along the aft spar with about 3 inches of the strip extending to the aft and three inches onto the wing aft surface. Clamp in place with a 1 X 2 strip of wood to insure the masonite strip is well seated against the wing skin foam for its intire length. the layup a 2 BID fiberglass and create the flange along the aft spar. It should extend an inch and a half onto the aft spar and extend at least 2 inches rearward. It will be trimmed to 2" later. Let Cure. Repeate this process until you have a flange the entire length of the aft wing.
Complete, next we will flip the wing over once again and glass the bottom wing.