Chapter 6 - Turtle Deck
Installing the Turtle Deck on the Fuselage
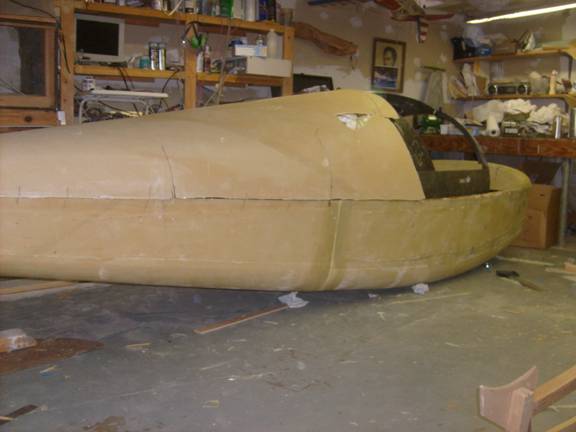
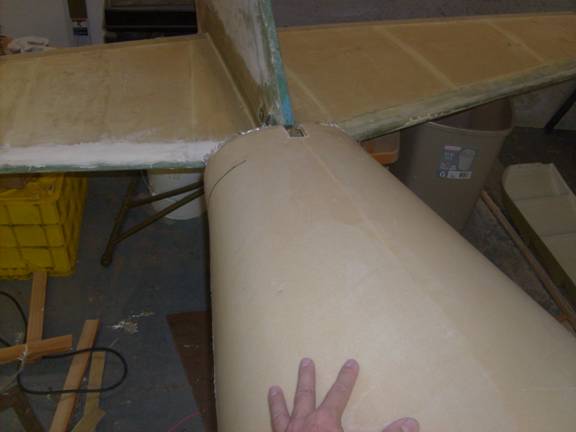
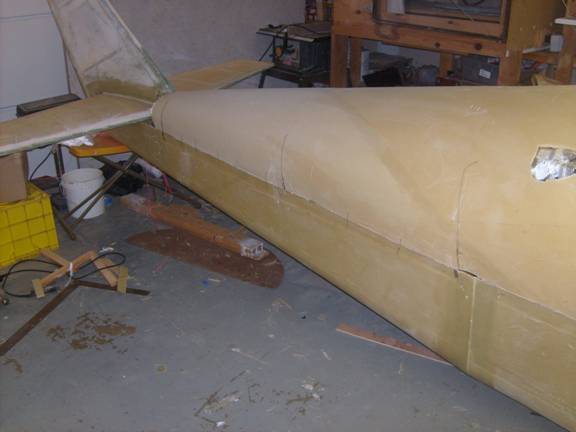
Carefully lift the turtle deck out of the form and lay it onto the rear fuselage and check its fit. You will have to remove sections of the flange in areas to clear the bulkheads. The front section of the turtle deck will flare outwards, but the addition of the rear windows will allow the turtle deck to be properly positioned. When satisfied with its fit, trim the bottom of the turtle deck to match the top of the rear fuselage sides and secure into place with sheet rock screws and shoulder washers from the rear of the turtle deck to the baggage bulkhead. The forward top edge of the turtle deck is now trimmed to meet up with the canopy, but the sides just behind the canopy will appear to flare out where the fuselage curves inward. The forward, lower corners of the turtle deck are now bent in, down and forward until the turtle deck matches up with the canopy. Trim the bottom edge of the turtle deck and attach the section forward of the baggage bulkhead to the fuselage flange.
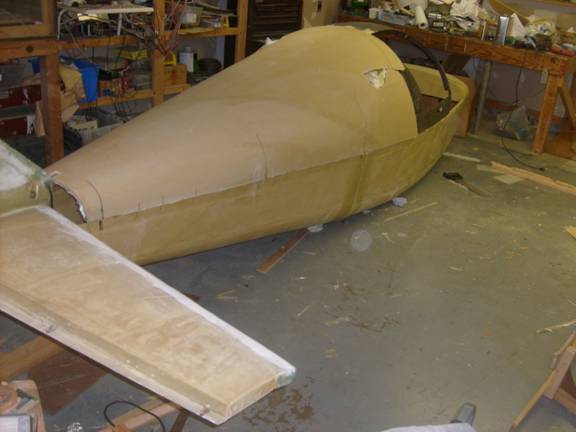
Finally, trim the turtle deck to match up with the canopy sides. Insure that you have completed most the tasks inside the rear tail section as it will become harder to work in this area once the turtle deck is bonded in place. the items that are easier with acces to the rear fuselage section include: the fuse antennas, the routine of the tail light and elevator trim wires, the installation of the static ports.
Once happy with the fit, the turtle deck is bonded into place with a mixture of epoxy and flox. Use the shoulder washers and sheet rock screw to hold it in place while the epoxy cures, but remember to coat the screws with mold release wax so they can be removed.
The remaining items include the rear windows and the fairing of the turtle deck into the horizontal and vertical stabilizers.