Chapter 6 - Turtle Deck
Turtle Deck Foam Preperation - Outside laminate
The turtle deck is made from two sheets of 4.5 lb. 24” X 96” last-a-foam. Spread a large sheet of drop cloth on your garage floor or large work surface. Lay the two sheets of foam on your work surface and bond the two long edges.
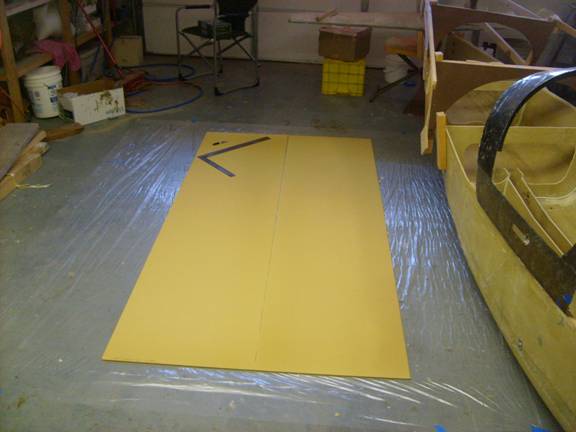
Start with two full sheets
We are starting here with a large rectangular piece of foam, but we want a large triangular piece. This will be made by cutting two triangular pieces from the rear section and bonded onto the forward section making the flat pattern required for our cone shape. Measure the circumference of the rear most curve on the rear form member. Add two inches and this will be the width of our flat pattern at the rear most end. Measure the distance between the other two form sections and mark these locations on the foam sheet measuring forward from the rear. Again measure the circumference of the arc of the other two form curved sections, add two inches and mark the points on the foam sheet. These points should create a somewhat straight line. Cut the foam and flip the resultant foam triangular pieces and bond on the forward part of the foam to carry the line forward. The two inches added to the circumference will give us an additional inch on each edge that will be trimmed off later.
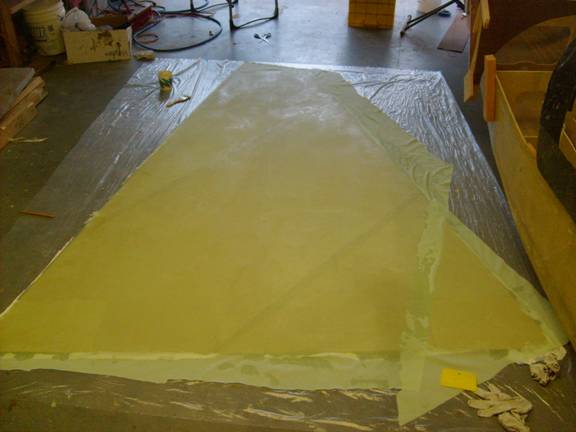
Final Shape
We are going to layup one side with a single layer of BID. You have done this before when building the fuselage boat and are comfortable with this process. This layup will become the outside of the turtle deck so you will want to do a nice job. Time put in now will save sanding and filling later. If you want to you can identify where the BID will overlap and place a small joggle in the foam so you do not have a noticeable transition from one pass of BID to another. This is a good technique to practice here because we want to do this on the wing surfaces.
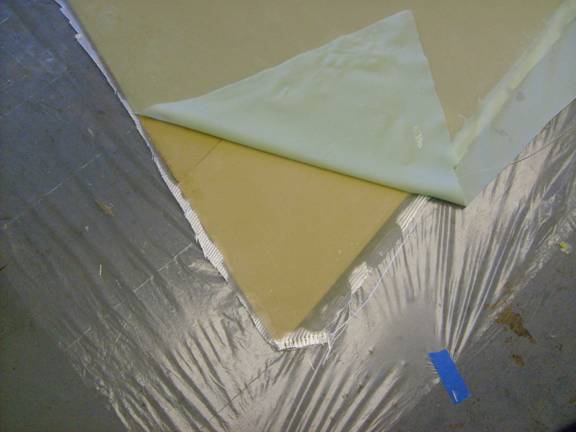
If we plan where the glass BID will overlap we can put a very slight joggle into the foam, we are only talking about .015”. We can then slurry the foam and let the slurry cure. Then we can sand the slurry surface to remove any bumps or other imperfections. The glass is then laid over the surface and positioned dry—no resin. The edges are carefully positioned and trimmed. The overlapped areas are carefully aligned in our joggles and trimmed to be completely within the joggle trough. If any debris or bumps are found under the glass, we can lift it, sand the hard slurried surface and then replace the glass. Once we are completely happy with the lay of the BID, we squeegee epoxy resin over the surface. Finally we apply a peel ply layer. When cured we achieve an amazingly nice flat surface that requires only minimal work later.
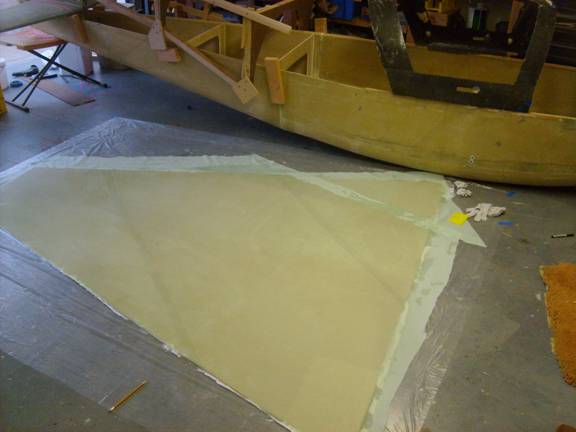
Glassed and covered in peel ply
 When cured, we have a very nice surface