Chapter 6 - Turtle Deck
Turtle Deck Fuselage Flange
Before we start on our flange, we need to do is to insure we have a straight edge along the top of the rear fuselage sides. Once trimmed straight we will remove one half inch of inside laminate from the top edge all along the top fuselage sides from the seat back to the horizontal stab. Be careful not to cut into the foam, we just want to remove the glass layer. Use a sharp razor knife and a straight edge clamped into place. Take multiple cuts until just through the glass layer.
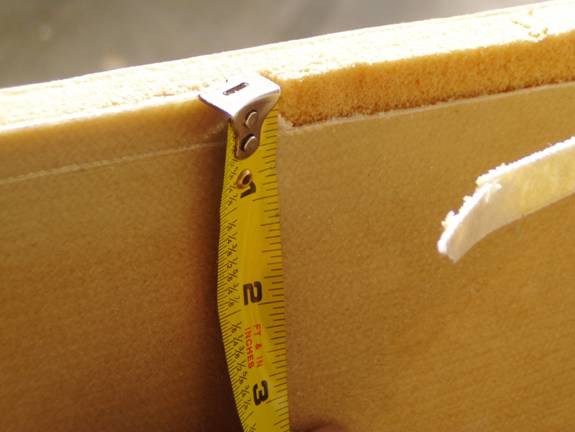
Remove ½” of glass from the inside top of the fuselage side
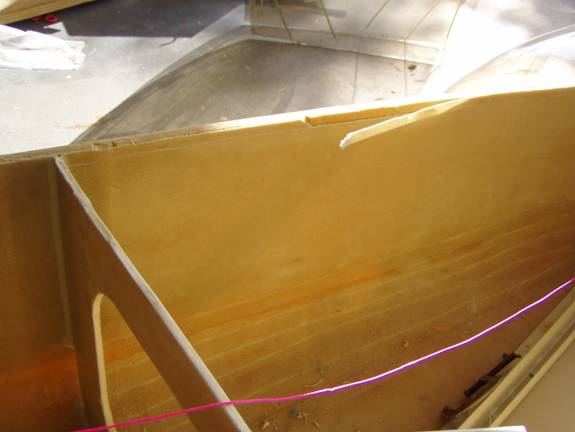
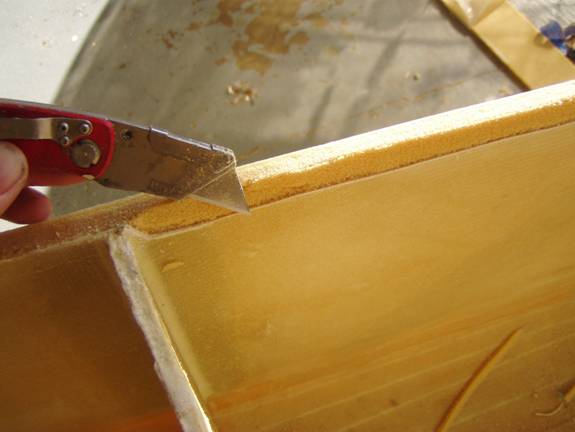
Peel the glass away
The rear fuselage side is ½” foam and the turtle deck is only ¼” foam so we will need to create a transition from one to the other. Carefully sand a beveled edge on the inside foam that is now exposed so the top edge in only ¼” thick instead of the ½” we started with. Multiple passes with a sanding block is the quickest and easiest way to achieve this.
Transition from ¼” to ½”
The finished turtle deck will be about .3” thick after a single BID has been added to both sides. This is the distance we are striving for the flange to reside from the outer fuselage skin wall. Use 2” strips of foam to approximate this thickness and put a release tape on one side and wrapped around the bottom so our flange will not bond. Use another strip to position the foam strips on top of the fuselage sides to create a surface for our flange.
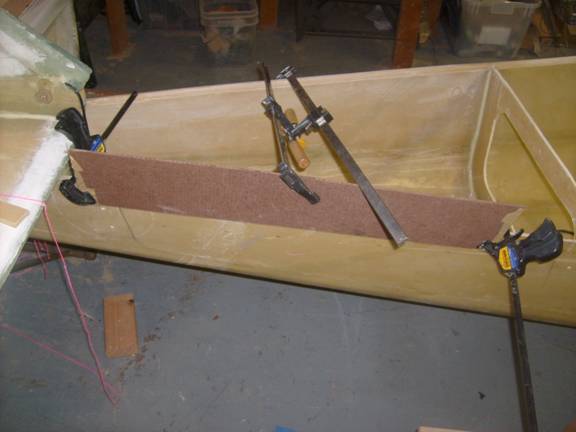
Masonite used to create flange
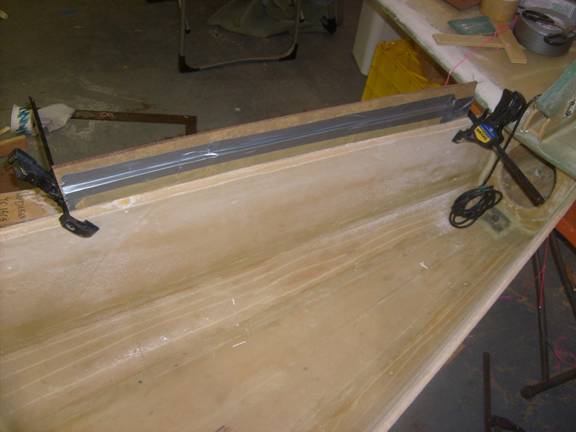
Flanging tool clamped in place
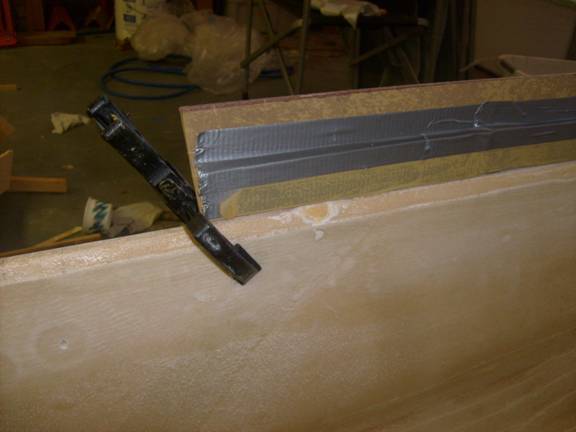
Closeup of fuselage top ready for glass
Create a two BID flange an inch to an inch and a half above the fuselage side, down the tapered section of the fuselage side and onto about an inch of the fuselage side. Let cure.