Chapter 4 - Finishing the Tail
Section 2 - Building the Elevator
Elevator Foam Core and Carbon Fiber Skin
This section describes the process to install the 2 lb. Polyurethane block for the elevators. You have already used this material in the filling of the vertical fin and you are also familiar with the use of two part urethane foam that is used to install the blocks to the elevator frame. You should refer back to the pages covering the installation of the foam blocks in ther vertical stabilizer to refresh your memory.
The elevator should be installed on the horizontal stabilizer before the foam blocks are installed. This will insure that the frame is true without any twists. We will use the 2 part urethane foam as an adhesive; it is excellent as such, however its expansion properties can cause the structure to be distorted as the foam cures. The elevator frame needs to be supported well in all directions as the spar will be pushed forward and the ribs will be bent outward if allowed. I used a series of wooden blocks between the elevator spar and the horizontal stab to insure the elevator spar was perfectly straight and ridgid. I used 2X4 blocks clamped on the end elevator spars that were also clampled to the horixontal stab to insure the entire structure was stable before using the 2 part urethane floam to secure our foam blocks. Use quantities of duct tape to hold the foam blocks in place with the glue cures.
Once the two part urethane foam has cured, trim and sand the top side of the urethane block to size using the spar and ribs as reference. A long sanding board is the best tool to use for this. Be careful not to sand the spar and ribs down. It is best to shape the top side of the elevator first, then cover it with carbon fiber before sanding the bottom side to shape. The extra bulk of the foam block helps stabilize the elevator structure until the first layer of carbon has cured on the top surface.
Elevator Carbon Fiber Skin
When the top surface of the foam block has been trimmed and sanded to shape it is time to prepare for the carbon skin. Remove a triangular slice of foam from between the fiberglass layers of the spar and the ribs as shown below. Then fill this with thick micro. At the same time, slurry the top surface of the elevator. The 2 lb. Foam is thirsty and will take a bit more slurry than you may be used to. Let cure
Once the mico edges have cured, use a sanding block to create rounded edges on the front side of the spar and the outside of the ribs. Create as large of a radius as possible without diminishing the size of the spar and ribs.
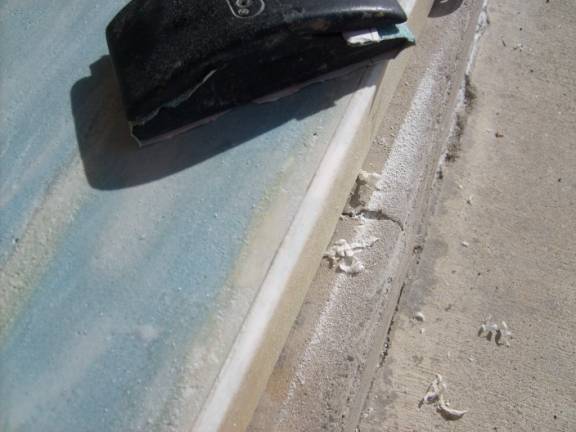
Nice Radius along elevator spar
Again install the elevator on the horizontal stabilizer and true it up, this means both sides. Once we install the layer of carbon fiber, the shape will be locked in, including any inadvertent twists.
Create a paper template for the size of carbon fiber. We do this to minimize the waste of this expensive material.
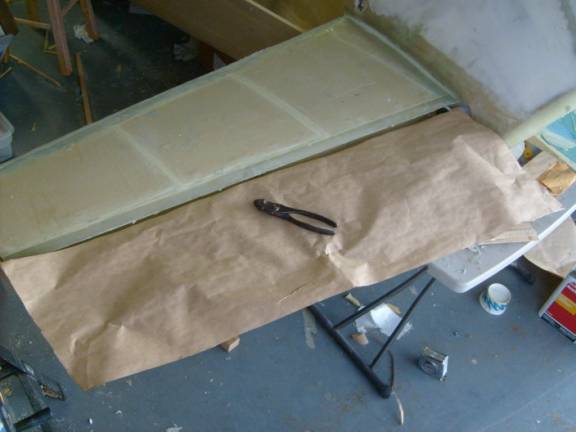
Paper Template of Carbon Fiber
Cover the hinges with tape to prevent resin contamination that may result from our bonding the carbon fiber skin in place.

Cover hinges with Tape
Cut the carbon fiber and test fit it, leave about a ½” extending over each edge.
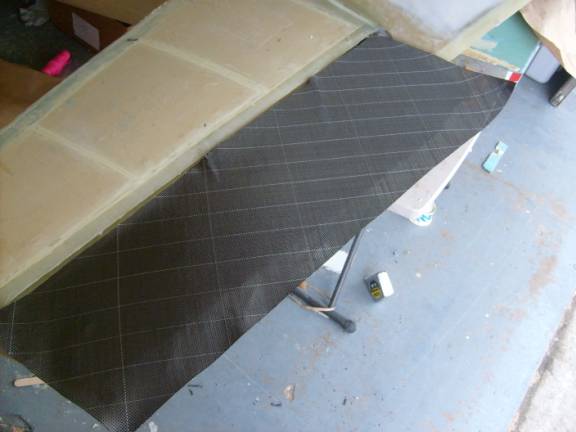
Carbon Fiber in place, Ready for Resin
When ready wet out the carbon fiber and roll the leading and side edges over the radiused lspar and ribs.
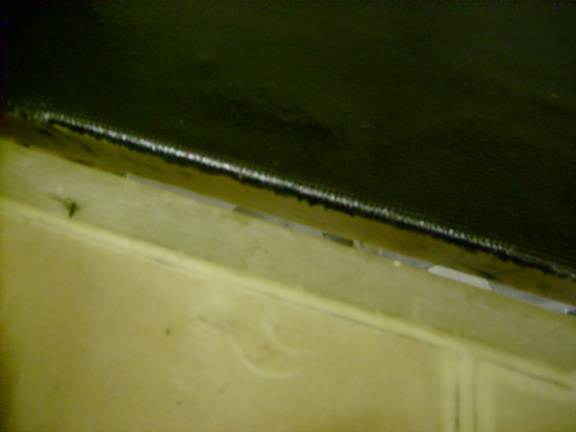
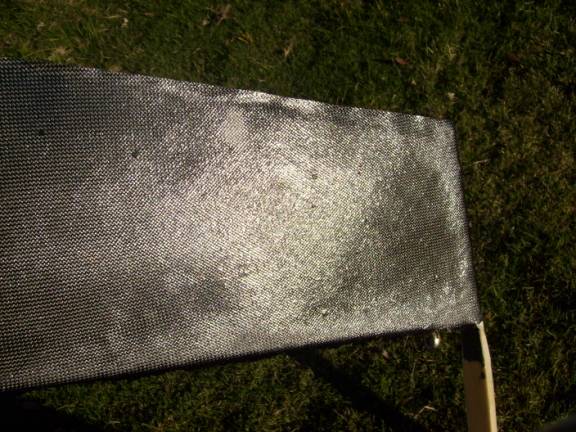
Carbon fiber Cloth rolled over edge, should have been longer
The trailing edge should extend as straight aft as possible.
Let cure.
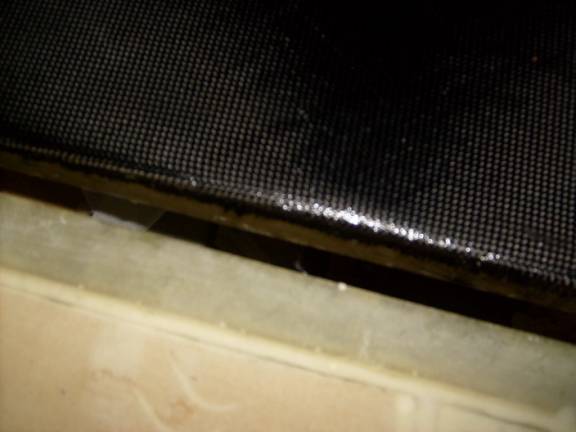
Cured Carbon Fiber skin
After the Carbon Layup has cured, remove the elevator and trim the rear edge.
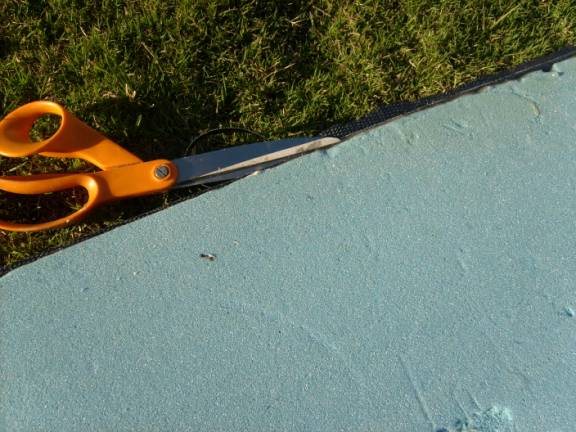
Trim the Cloth Straight along rear edge
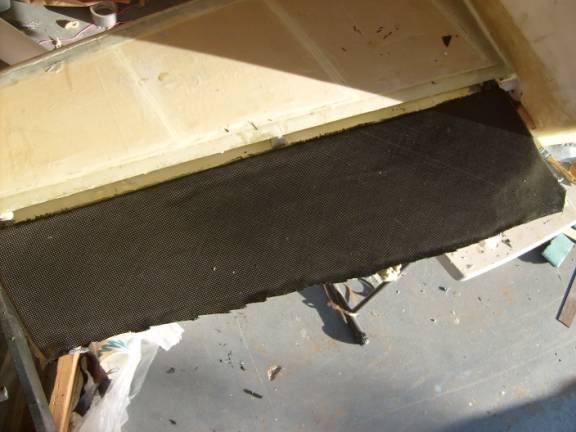
Cured and Trimmed top skin
Flip the elevator over and now trim and sand the foam block on the bottom side as was done on the top.
Remove the aft most ¾” of foam from the trailing edge. Radius the foam along the rear edge. Study the following photo of a cross section of an elevator and see how the trailing edge was finished. One side was skined, the other side had the foam removed at the back and the second skin on the other side was installed. After both skins have cured, thick micro is fill in to restore the shape of the elevator.
Cross section of elevator
Prepare the edges of the spar and ribs as was done on the top side.
Micro the ribs and spar edges as was done on the top side.
Slurry the bottom foam.
The bottom skin is one layer carbon fiber covered with one layer of fiberglass BID. The BID helps protect the carbon from impacts from debris. Install the bottom carbon fiber skin in a similar manner as the top skin. Roll the leading edge and side edges around the spar and ribs. The trailing edge skin will be laminated against the top skin for the aft ¾” of the elevator. Let cure.
Trim the carbon fiber around all edges.
Fill the trailing edge with micro to build it back up to the proper shape, the shape before the foam was removed along the aft ¾”. Once this micro has cured, roll a layer of BID around the trailing edge and an inch and a half onto both the top and bottom surfaces.
Good Job, next we will add the elevator tips and the leading edge radius.