Chapter 3 - Finishing the Tail
p>Section 1 - Bonding the Tail to the Fuselage
Bonding the Vertical Stabilizer into place
It is time to permenatly bond the vertical fin into place. We will use the line that was drawn on the top of the horizontal stab as our aircraft centerline reference. You can use the laser level to paint a line down the center of the airpane to insure that the line is in fact properly place.
Step 1: We need to remove the inner skin and foam at the very back of the fuselase to make room for the vertical spar. Place a mark on the inside of the rear fuselage about 3/8” from the rear edge.
Mark forward location of vertical spar
Step 2: Cut only the inside fiberglass skin along this line and remove it and the underlying foam. A dremel tool with a cut off wheel is the easier way to get into this tight space.
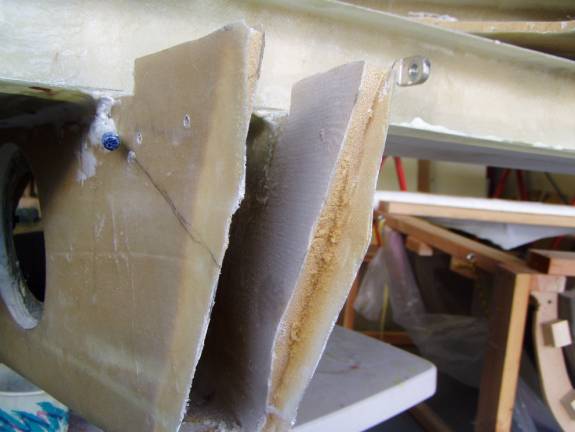
Inner skin and foam trimmed Away
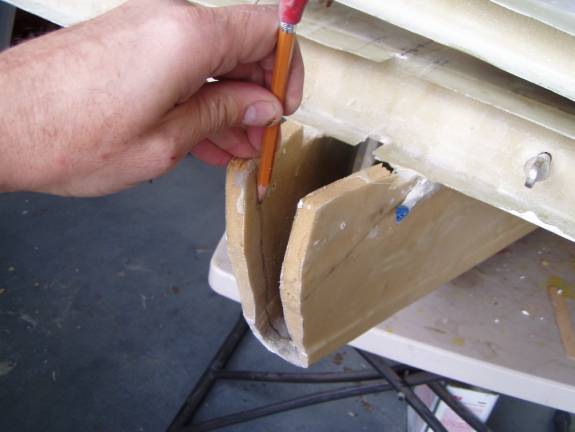
Step 3: Position the vertical stab so that the rear spar fits into the slot in the rear fuselage. The vertical spar was left long and needs to be trimmed to fit into the rear fuselage. It is OK of it fits loosly, we want a bit of room to allow adjustment of the vertical fin.
First Test Fit of the Vertical Fin
Step 4: locate the vertical fin bottom panel. Remember that piece that was not used earlier when building the vertical fin? Using the centerline on the horizontal stab, position the part on the horizontal stab and center it. The rear edge of the notch in the part is located 2.125” from the horizontal trailing edge. Notice that the skinner edge goes forward.
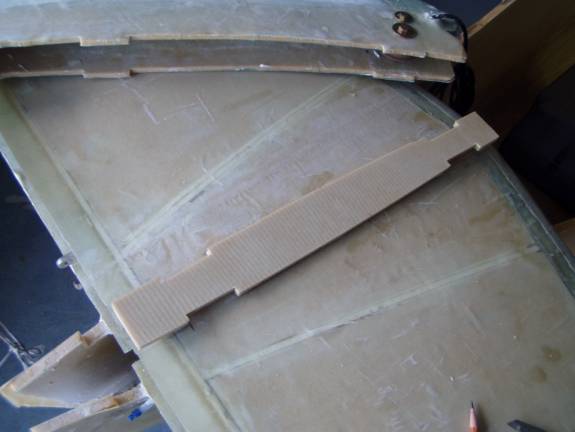
Lower Vertical Fin Panel
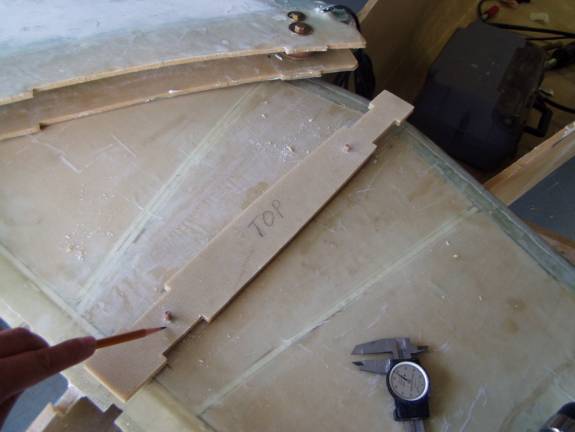
Step 5: Once you have positioned the lower vertical fin panel on the top of the horizontal stabilizer as outline above, mark its outline with a pencil. Now is also a good time to test fit the lower panel to the bottom of the vertical fin and make sure it fits properly.
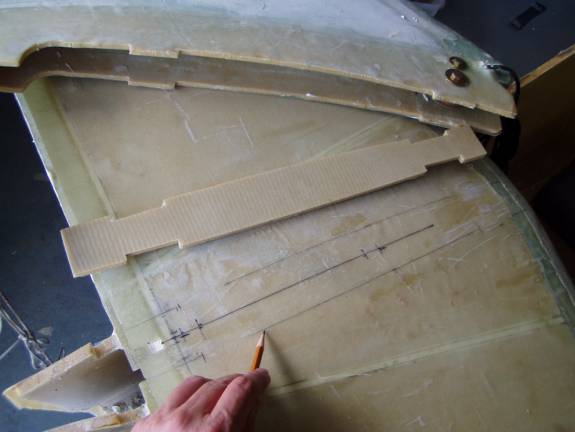
Lower Fin Panel Location Marked on Horz Stab
Step 6: Obtain some ¼” wooden dowels. Label both sides of the Fin bottom panel as top and bottom. As soon as we place out dowel pins we do not want to get it flipped upside down.
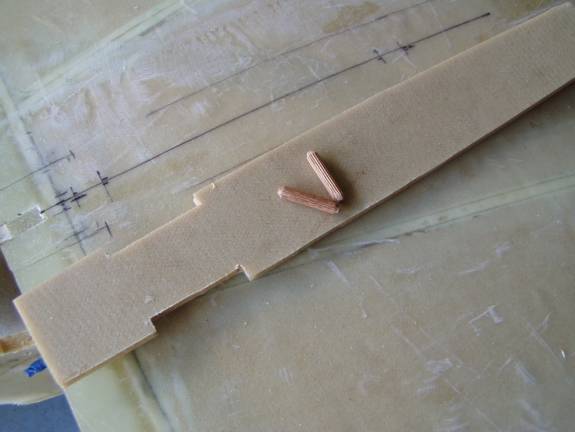
Wooden Dowel pins
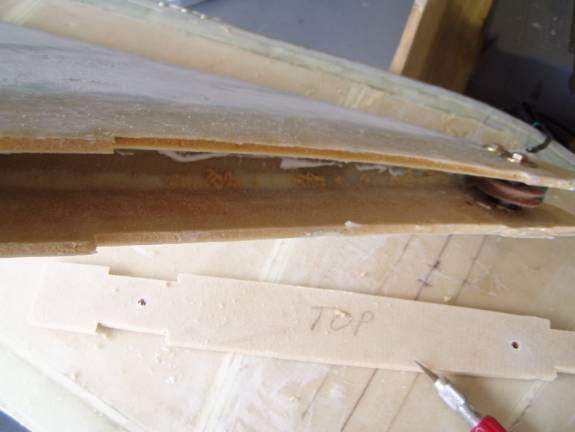
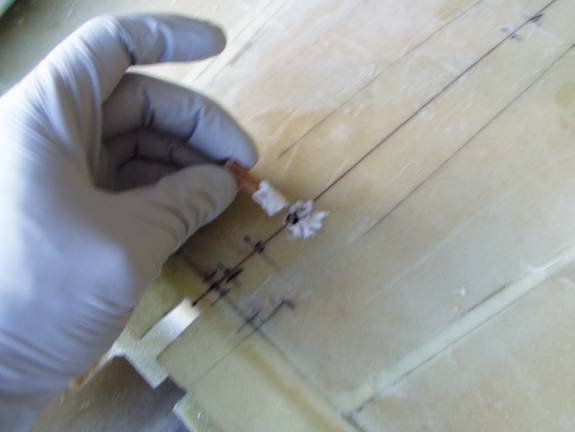
Step 7: Drill two ¼” locating holes through the vertical bottom panel and into the horizontal stab for the locating pins.
Locating Pins Installed
Step 8: Prepare the bottom of the vertical stab to accept the bottom panel. Dig out an 1/8” of foam from the bottom of the vertical stab sides.
Remove foam from vertical fin sides
Step 9: Mix a thick batch of micro and fill the bottom edges of the vertical fin.
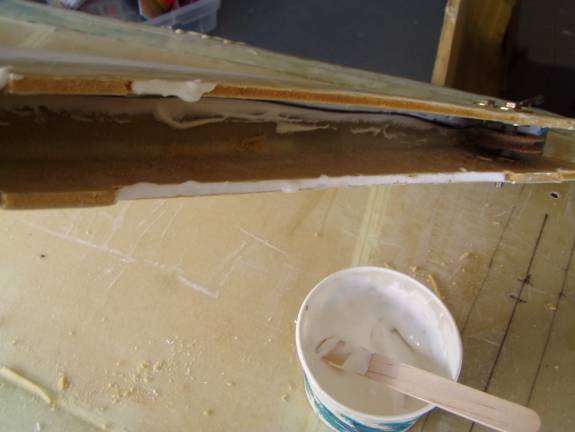
Thick Micro
Step 10: Secure the vertical fin bottom panel in place and let the micro cure. Use Duct tape to hold the panel in place. Insure that you do not have the panel installed upside down—if so your alignment holes will be out of wack.
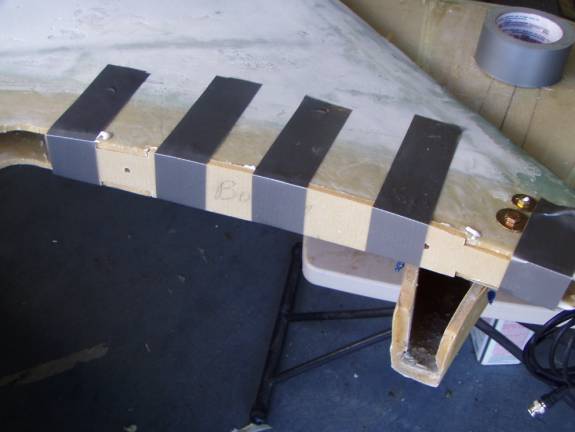
Duct Tape holding bottom panel in place
Step 11: Use some of the thick micro to secure the mounting pins in place in the horizontal tail.
Dowel Pins Installed in Horizontal Stab
Step 12: Once the micro has cured and the bottom panel is secure on the vertical fin, trim the bottom edge of the fiberglass skin on bottom panel and remove 1/8” of foam. We want to create a radious on the bottom edge to wrap fiberglass.
Step 13: Mix up another batch of micro and create a radius along the bottom edge of the vertical fin.
Step 14: Place a 2 layer BID laminate around both sides along this edge. Let cure
Step 15: If required, clear the holes on the bottom of the vertical for the alignment pins and test fit the vertical fin on the aircraft.
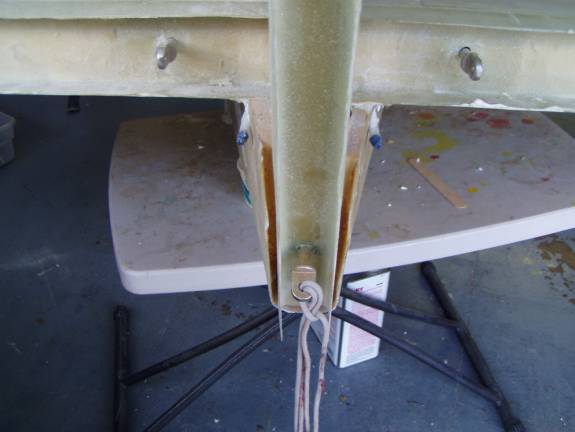
Step 16: Like you did with the horizontal stab, establish a method to hold the vertical fin in proper place while it is bonded in position. A strap run over the top and to the ends of the horizontal stab works well. Use a laser level to insure the vertical fin is in fact perfectly vertical and properly seated against the horizontal stab. Look from the rear and insure it is properly spaced between the two fuselage sides.
Step 17: Remove the vertical fin and clean all surfaces to be bonded: the top of the horizontal stabilizer, the bottom of the vertical fin, the lower sides of the vertical fin spar and the rear inside section of the fuselage.
Step 18: When you are satisfied with its location and can hold it in place for a cure, mix up a batch of thick flox with your laminating epoxy. Smear this mixture into the rear of the fuselage sides.
Step 19: Now mix up a batch of structural adhesive, the stuff you used to bond your horizontal stab into place, and apply it to the top of the horizontal stab and the bottom of the vertical stab.
Step 20: Return the vertical fin to its final position and secure it with the straps. Pack more flox into the area at the rear of the fuselage and wipe away the excess from the inside, using the access panel hole in the side of the fuselage. Attempt to create a reasonable radius on the inside of the fuselage where the spar fits.
Let cure.
Step 21: Apply a four layer laminate on the inside of the fuse overlapping the fuselage side and the forward side of the vertical fin spar.
Step 22: Apply a two layer laminate along the jont between the vertical fin and the horizontal stab. You will need to create a radius with thick micro first.
Let Cure—wow it is really beginning to look like an airplane!