Chapter 3 - Fuselage
Section 2 - Rear Fuselage
Flat Panel Fabrication
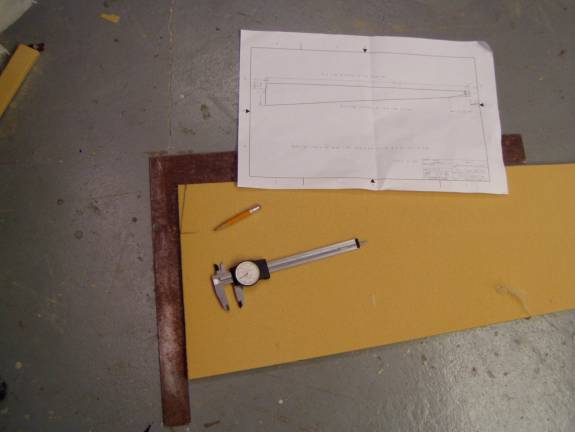
The rear section of the lower fuselage is created with 6 pieces of foam, four of which are ½” thick and two of which are ¼” thick. Print out the drawings for the following parts: Rear Fuselage Side, Rear Fuselage Corners, Rear Fuselage Bottom and the Rear Fuselage Layout. Refer to the following photo to get a feeling for the layout of the tail cone. The bottom and sides are made from ½” foam and the radiused section is ¼” foam. The ¼” foam, when glassed on one side, bends very nicely.
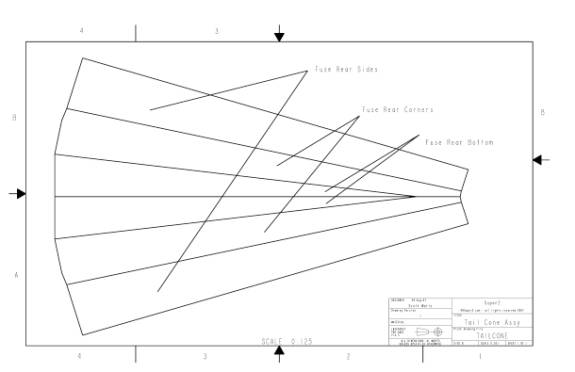
The order of assembly for the tail cone panel is as follows:
- cut out the 6 last-a-foam panels. There will be two identical rear fuselage sides cut out of ½” foam, two identical rear fuselage bottoms cut out of ½” last-a-foam and two identical rear fuselage corner sections cut from ¼” last-a-foam.
- The six pieces of last-a-foam are bonded to one another to form a flattened cone shape.
- The ½” foam is beveled where it meets the ¼” foam.
- This exposed side will become the inside of the fuselage. The ½” foam is covered with a single layer of BID down to and including one inch of the ¼” foam. The uncovered ¼” foam will become the inside radius of the corners.
- The aft end of the ¼” foam has slots cut into it to facilitate the tight radius bend.
- The entire panel is flipped over. There are ¼” foam blocks placed under the ¼” foam so the top is completely flat.
- The outside of the panel is covered in a single layer of BID in two operations. Our sheet of MDF is used to give us a tooled surface finish.
- The panel is set a side while we build the forward fuselage section
- The completed panel is laid across the form and bonded to our already completed forward fuselage.
- The form is flipped over and the ¼” foam is now glassed on the inside.
- The bulkheads are installed and the former are removed.
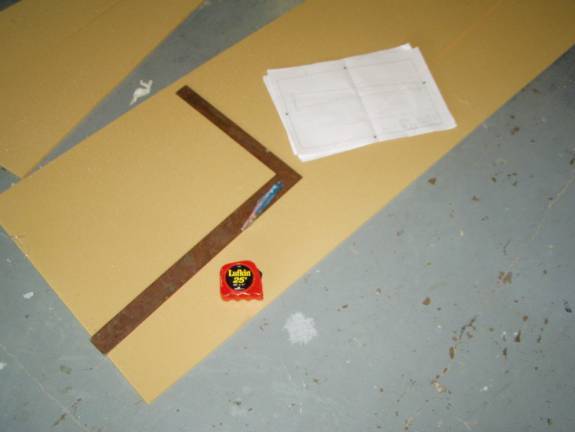
Cutting Out Two Fuselage Bottoms
The Fuselage bottoms are cut out of a single rectangular piece of foam as shown above to minimize the amount of foam needed.
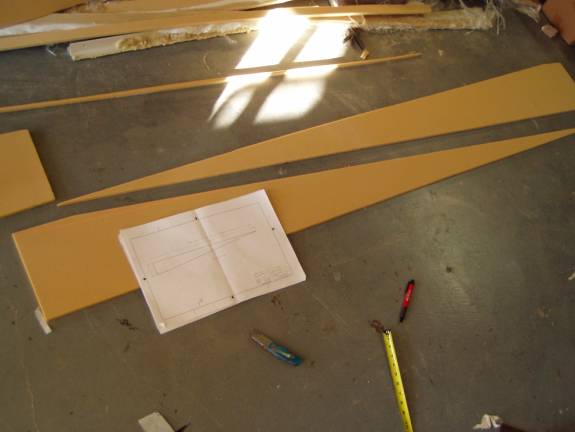
Proper Positioning of the Fuselage Bottom Pieces
The two rear fuselage bottom pieces will be positioned as shown in the above photo. Cut out the two radiused sections from ¼” last-a-foam.
Cutting the Radiused Sections
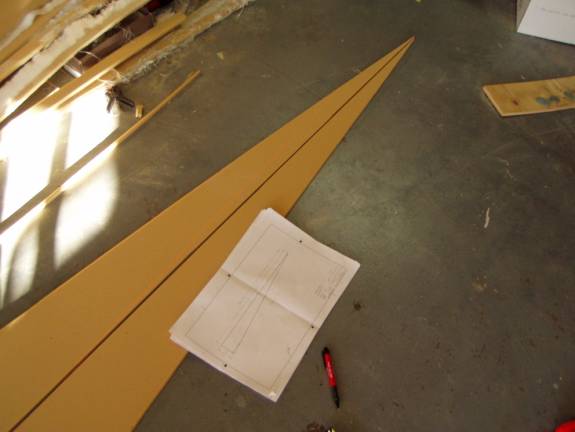
Finally cut the rear fuselage sides from ½” last-a-foam.
Cutting the Rear Fuselage Sides
Once all of the foam pieces are cut lay them out on a large drop cloth and position them as in the layout diagram. None of the parts are symmetrical, so pay close attentions as to the orientation of each part and how it fits with its neighbors.
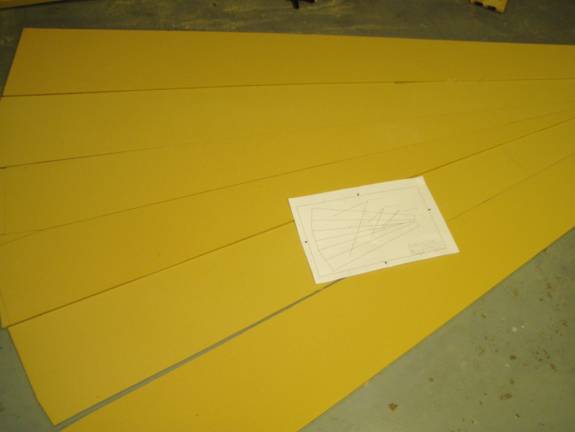
Proper positioning of the rear fuselage panels