Chapter 3 - Fuselage
Section 4 - Fuselage Features
Fuselage Mounted Antennas
One of the nice things about an all composite aircraft is it is largely transparent to radio waves. The use of dipole antennas allows them to be mounted inside the fuselage and out of the airstream.
The antennas mounted internal to the Super2 airframe are as follows:
- Main Comm Antenna mounted in the vertical Stabilizer
- Main Nav Antenna mounted in the Wing
- Second Comm Antenna mounted in the fuselage tail
- Glideslope antenna mounted in the wing
- ELT antenna mounted in the rear fuselage
- Marker Beacon Antenna mounted in the rear fuselage
- Second Nav antenna mounted in Wing
- GPS antenna mounted just aft of the firewall under front deck.
- Transponder antenna mounted on fuselage belly at about the wing spar.
Of these, three are mounted in the fuselage tail and two of them should be installed before the turtle deck is bonded on for ease of access: the marker beacon antenna and the ELT antenna. It is easier to install the Marker beacon and ELT antennas before the turtle deck is installed as they are installed in the lower radiused corners of the tail cone. The secondary comm. antenna can not be installed until after the turtle deck is bonded in place as it is a vertically polarized antenna and must be mounted up the inside of the fuselage tail cone and onto the inside of the turtle deck.
Marker Beacon Antenna
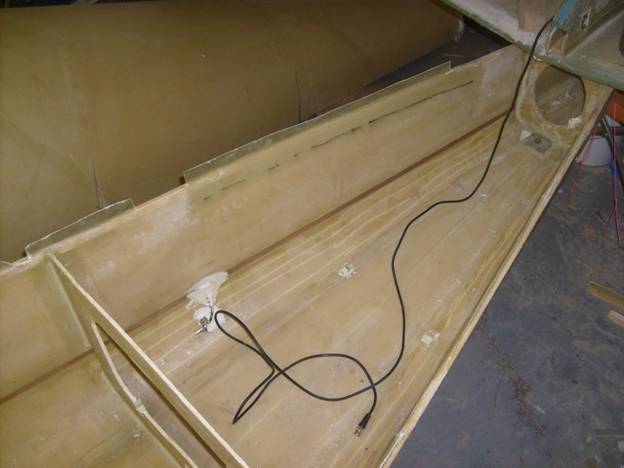
The marker beacon antenna is mounted in a straight line down the passenger side, lower fuselage corner of the rear tail. It runs from the just behind the baggage bulkhead to just in front of the rear bulkhead. It is composed of two ½” wide strips of copper foil, 34 3/8” in length each. These are mounted with an inch gap between then. I had the forward one go through a slot in the center bulkhead.
Fabricate a fiberglass angle 1 ½” on a side by curing 4 layers of BID.
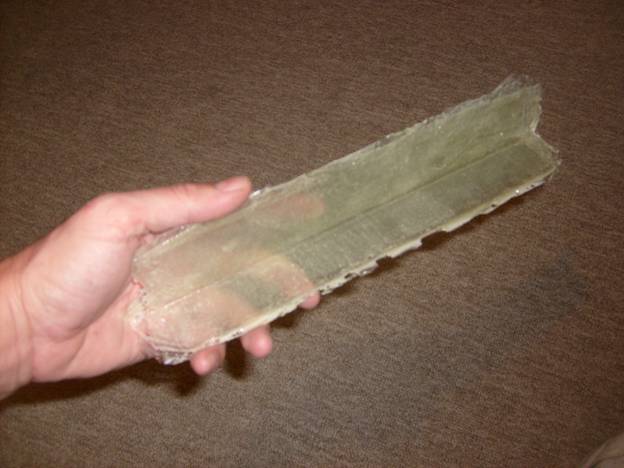
Precured Fiberglass angle Stock
Then cut two, inch long sections, 1.25” tall to make the mounting brackets for the BNC panel mount connectors. We will make two while we are at it, one for the marker beacon antenna and one for the ELT antenna.
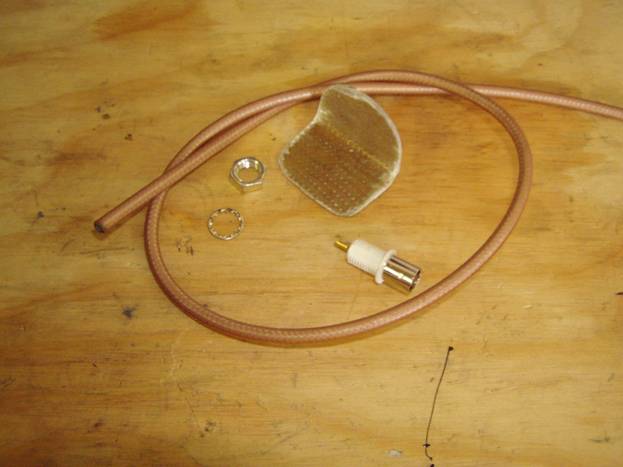
Panel Mount BNC Connector Bracket Parts
Drill a hole in the bracket to accept the panel mount BNC connector and then solder a short section, about 4 inches in length, of RG-58 cable to it. Protect the end with a piece of heat shrink tubing. Three bauluns are slid onto the cable and spaced about an 1/8” apart. These can also be heat shrunk into position or can be microed later.
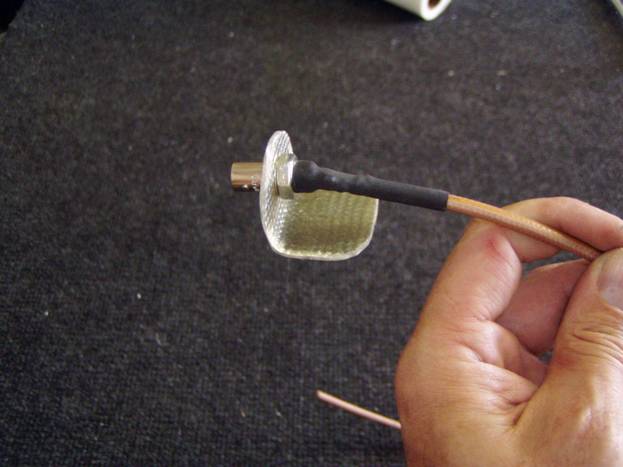
Panel Mount BNC Connector Bracket
Decide how you want to route our antenna cables forward and then bond the marker beacon BNC connector a couple of inches away from where the two copper foil strips come together. Solder the center conductor to the forward facing foil strip and solder the shield to the rear facing copper foil strip. Seal the whole shebang with micro and cover the foil strips with a single layer of BID glass.
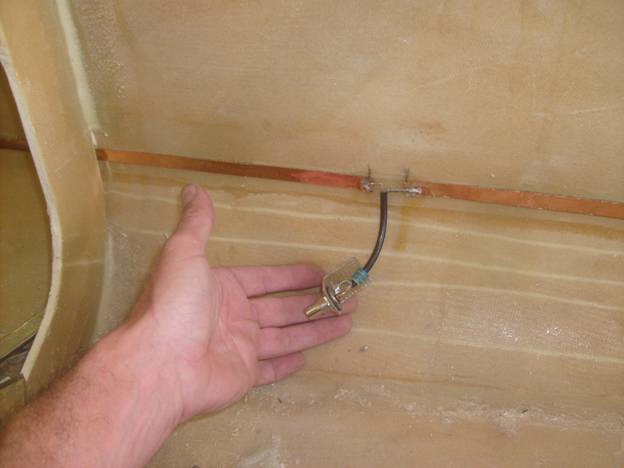
Attaching BNC Connector to foil tape
Marker Beacon Antenna
Marker Beacon Antenna
ELT Antenna
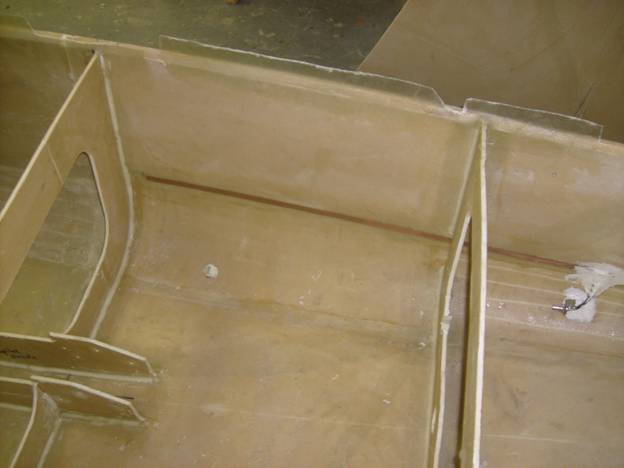
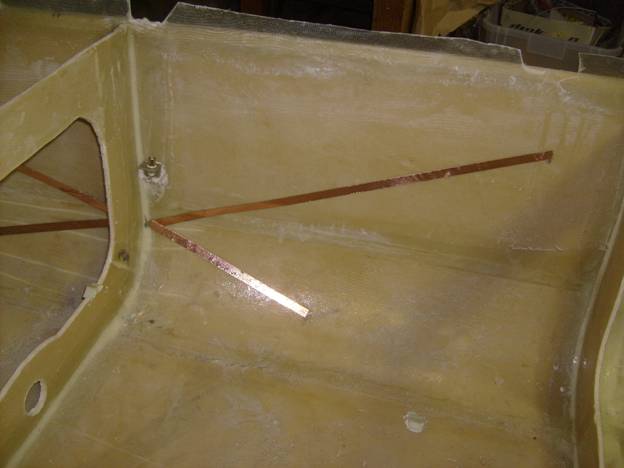
The ELT antenna is mounted on the pilot side of the rear fuselage centered at the center bulkhead. Our ELT antenna will support both 121.5 MHz and the 243.0 MHz, and thus will require two strips per side. The top two strips of 1/2" copper foil are 22.5" long and the bottom two strips are 10.5" long. The strips are joined close to the bulkhead and will be soldered together when we solder the coax cable.
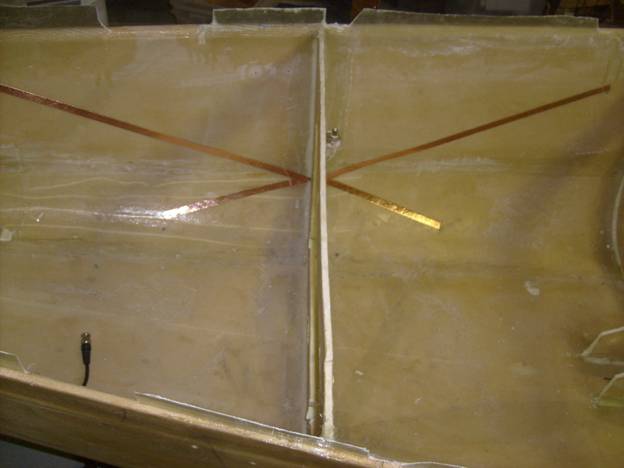
ELT Antenna Strattling Center Bulkhead
Bond the BNC connector bracket on the forward side of the center bulkhead and drill a hole through the bulkhead to pass the coax cable sheild through. It will then be soldered to the rear section of foil tape.
The ELT will be mounted on the hat shelf and the antenna cable will be mounted through a hole in the shelf.
Solder the center conductor to the forward facing foil stris and solder the shield to the rear facing copper foil strips. Seal the whole shebang with micro and cover the foil strips with a single layer of BID glass.