Chapter 5 - Gull Wing Canopy
Section 2 - Gull Wing Canopy Foam Core
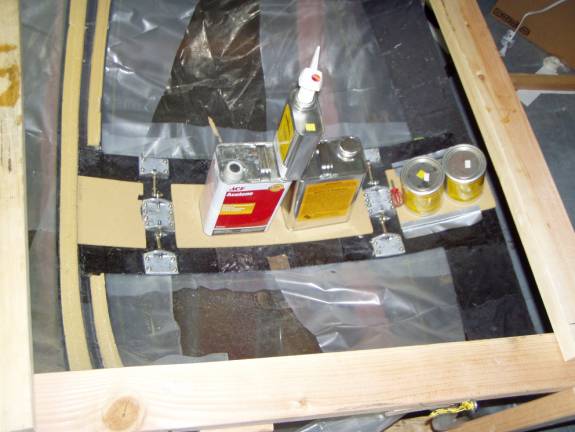
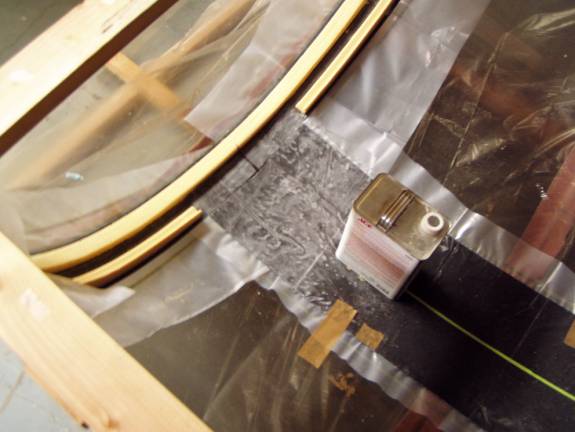
Now that we have completed the outside skin of our canopy frame, it is time to add the foam core. We will install the foam in four sections: the roof section, the front bow, the rear bow and the lower door section where the door handle is housed. The foam core is built up from ¼” thick 4.5 lb. Last-a-foam. We will first foam the canopy roof. But before we begin let us look at a few photos of the finished result to understand what we are working toward.
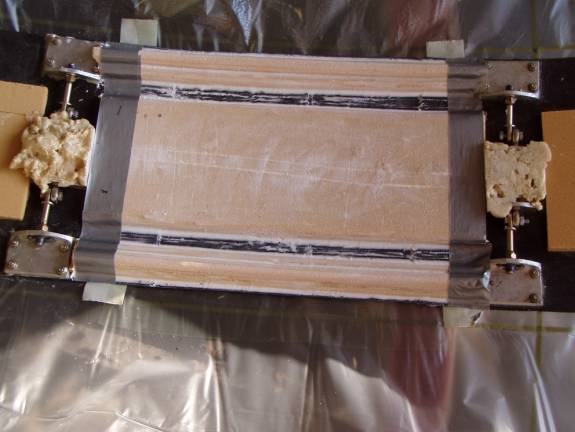
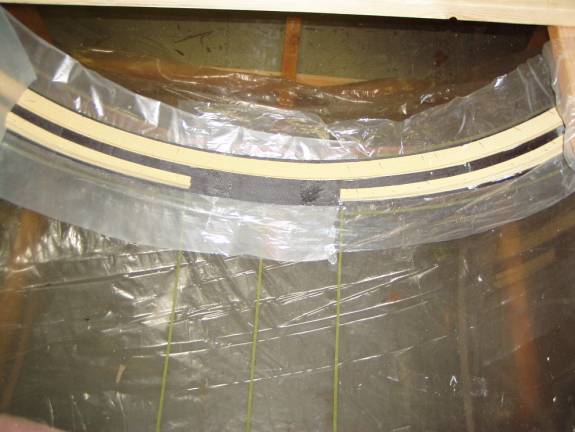
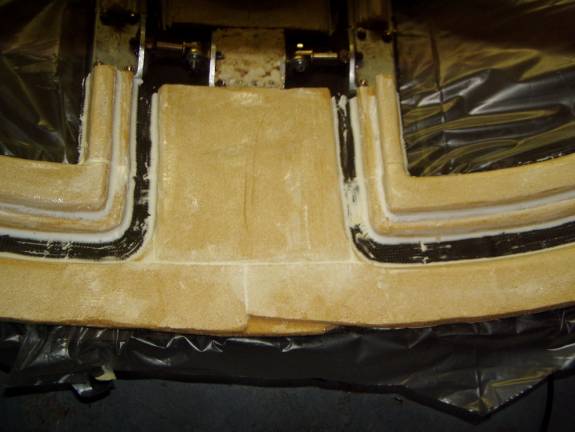
The next photo shows the rear bow and the gull wing door. Notice that the foam is of varying thicknesses. The foam in the fixed portion of the canopy frame (the area to the right of my finger in the following photo) is ½” thick. The foam in the gull wing doors has a ledge that is ½” thick and a section closer to the window that is one inch thick.
Notice that I am pointing at a section of outside skin that is not covered in foam at all. The inside carbon fiber skin is bonded to the outside carbon fiber skin here. This zone is one inch wide and when we are done with the glassing, will cut a 1/8” slot all the way around, right in center, separating the gull wing doors from the canopy frame.
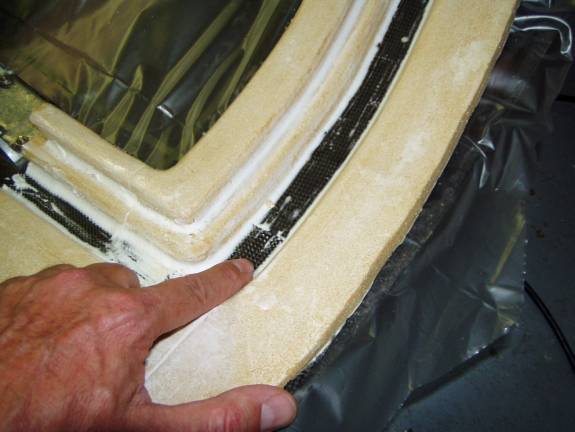
We will separate the door from the frame here
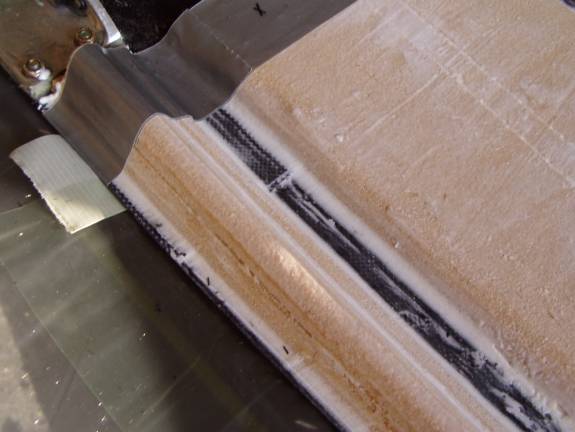
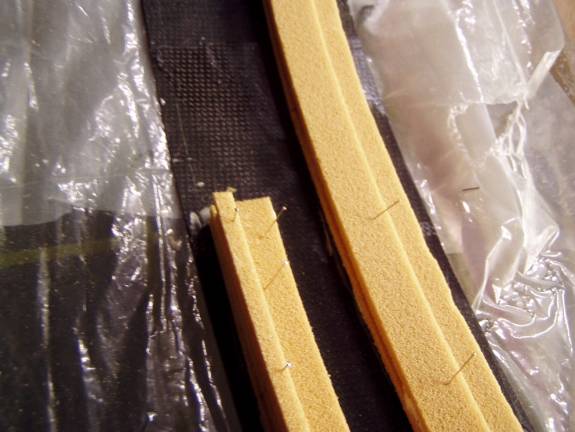
The next detail to notice is in the following photo where I am pointing to the edge of the doors where the Plexiglas window will be mounted. There is a ¼” section of exposed carbon fiber all the way around the windows where the inside skin is bonded to the outside skin. Next to this strip of exposed carbon fiber is a one-inch thick strip of foam all the way around the windows. This is to give the canopy doors extra stiffness.
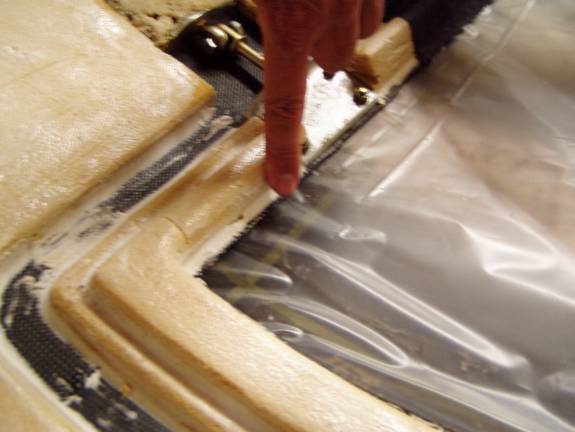
¼” carbon fiber boundry around
windows.
In the following photo, I am pointing to the foam ledge that runs all the way around the canopy door where the rubber bulb seal will rest. This ledge is ½” thick, as opposed the raised area that is 1” thick around the windows.
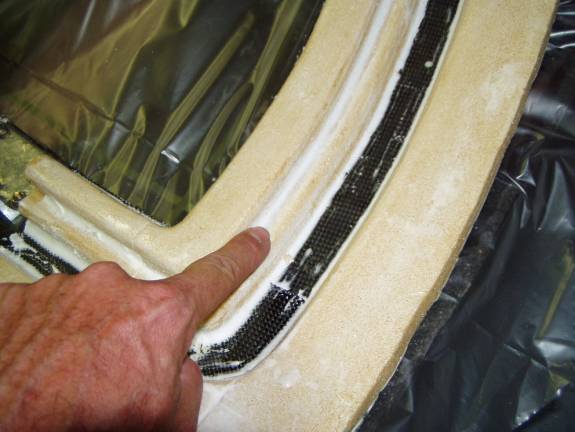
Ledge to seal against bulb seal
OK, now that we understand the general dimensional rules driving the size of the foam in our canopy let us get started. First we will foam the center roof section of the canopy frame.
This center roof section will end up being the roof and the center section of the gull wing doors. The center section is made from lengths of foam that run between the hinge brackets all the way from the front of the canopy frame to the back.
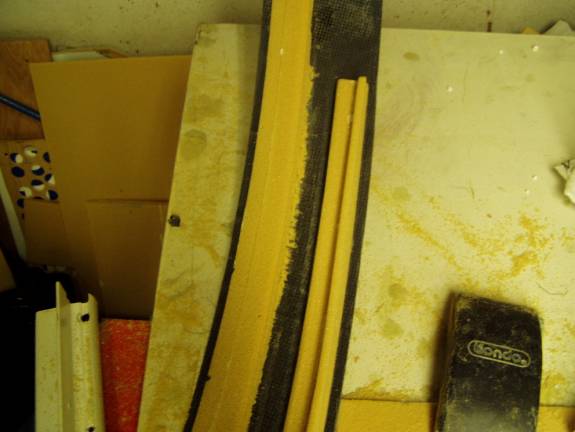
The canopy roof is a compound curve and we need the foam to bond well to the skin so we score the foam on one side as is shown in the following photo to allow it to bend and conform to the curved shape. This is also why we will use two pieces of ¼” foam instead of a single piece of ½” foam. The ¼” foam will flex easier.
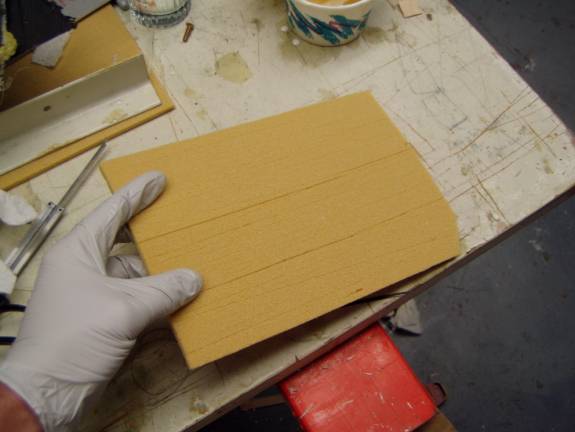
Roof foam scored to allow it to conform to curve
This center section is made from two strips of foam stack on top of each other, the first is 6 7/8” inches wide and the second is 6 ¾” wide. After the two pieces have been microed into place the edges are gently beveled. I use weights and duct tape to hold the first layer of ¼” foam in place, then use straight pins to hold the remaining layers of foam in place while the micro cures.
Weights used to hold foam during cure
The center section of the gull wing doors is made of four strips of ¼” foam. These are arranged to meet the conditions discussed above:
- ¼” gap between the carbon fiber edge where Plexiglas goes
- 1” gap between center canopy section and gull wing door section
- ½” wide ledge on door foam away from the Plexiglas
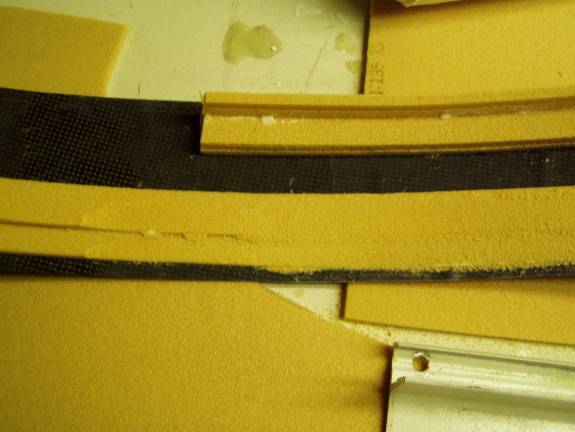
These rules result in four strips of foam being: 1 5/8” wide, 1 ½” wide, .8125” wide and .7” wide arranged as in the following photo.
Center section foam installed and sealed with micro
Close up of center foam
Before we are finished with the center roof section, we need to foam the hinges so they blend into the shape of the surrounding foam. We can either use foam microed into place or a 2 part urethane foam that is later sanded to conform to the last-a-foam. I used the second method.
Let us now work on the foam for the forward bow. There is a strip of foam running the full width of the front edge of the forward bow that will end up being the fixed frame for the windshield. This strip is ½” thick, made from two strips of ¼” foam: 1.5” wide and .85” wide. There is a constant taper to this frame from nothing at the windshield to the full ½” thickness at the door frame.
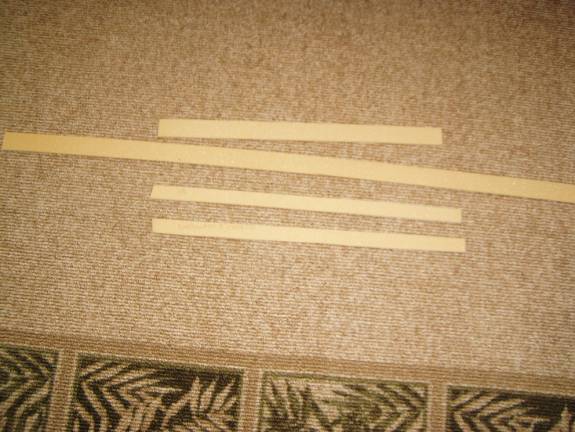
Strips of Foam for forward bow
Duct Tape is used to hold first layer of foam in place while micro
cures
Straight pins are used to secure subsequent layers of foam
Close up of forward bow foam
We have a ¼” strip of uncovered outerskin at the very front edge of the forward bow as seen in the above photo. Then the second layer of foam is applied biased toward the rear.
Taper the forward most edge of the foam
The forward two pieces of foam are sanded so there is a full length taper to zero thickness on the forward edge of the foam. This is to minimize the canopy frame thickness at the front and maximize forward visibility.
The canopy door foam consists of four strips of foam: 1.125”, 1”, .25” and .25” wide these are arranged as shown above to give us our ½” ledge for the bulb seal.
The forward bow foam fully shaped
See the following photo to see the forward bow foam in context with the complete canopy frame. Whyen the foam is installed, lightly remove the corners of the foam by sanding a 1/8" radius into the corners.
Completed front bow foam
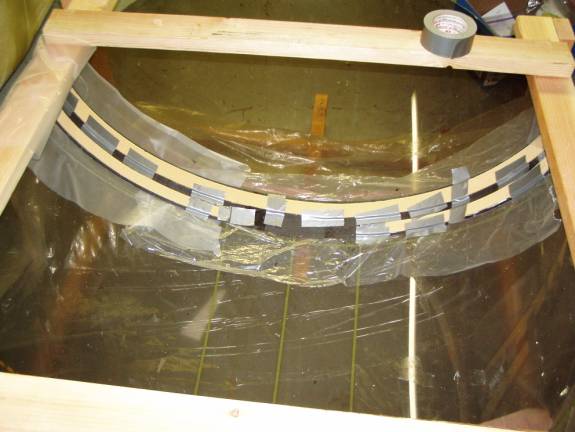
Let us move on to installing the foam in the rear bow section. The most rearward side of the canopy frame will mate with the turtle deck and does not need to be finished off at this time, so the foam will end even with the outside skin.
Foaming the rear bow section
The above photo is the desired end result after we add the foam into the rear bow. Notice how the rear bow’s foam is blended into the foam of the roof section. This results in the trough between the canopy door and the frame smoothly running around the canopy door perimeter. Also notice that the rear most edge of the foam is just trimmed even with the rear edge of the rear bow. This edge will mate to the turtle deck later.
The rear most strip runs the full length of the rear bow, is even with the back edge of the rear bow and is made from two strips of ¼” foam, 2 inches wide and 1.9” wide. Make a gentle taper along the forward edge of this strip where the rear bow is cut to form the door. There is then the 1 inch wide gap between the canopy frame and the canopy door.
The back edge (the edge toward the tail) is made of four strips of ¼” foam: 2.43” wide, 2.33” wide, 1.625” wide and 1.5” wide. These are positioned so there is a ¼” of uncovered outer skin around the window. Stack the four pieces, widest to thinnest all biased toward the front. There should be a slight ramp on the leading edge and a slight ramp on the trailing edge with a ½” wide ledge toward the rear for the bulb seal. Round the foam in the canopy doors corner as seen in the above photo.
To finish the foam we need to sand all of the edges smooth, sand slight tapers to the vertical surfaces and finally vacuum all of the foam dust.
Next we will mix up a thick batch of micro and fill all of the corners with a small radius all the way around. then we will slurry all of the foam. Make sure all outside corners are rounded off and all inside corners are filled with a small radius. We do not want our inside carbon fiber skin to have any sharp corners.
Let us move on to the inner carbon fiber skin.