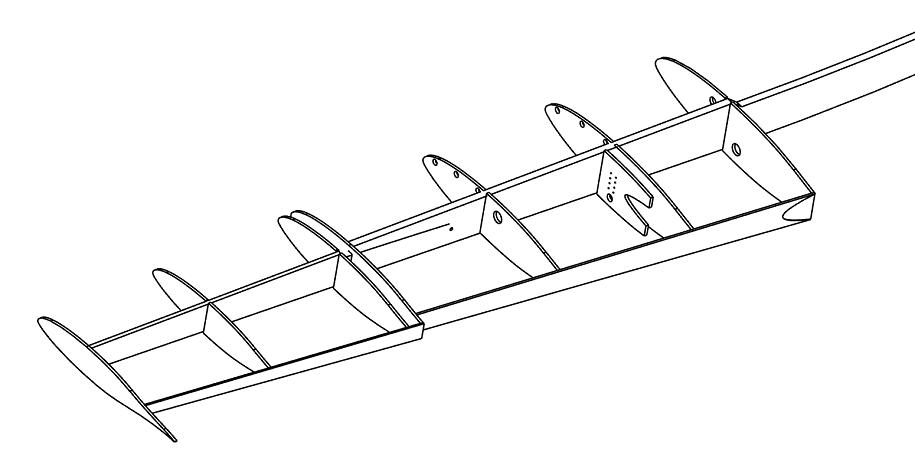
Wing Internals
Once we have glassed the bottom of the wing we are ready to start work on the internal features of the wing. These include:
- Fuel Senders
- Fuel Vents
- Fuel strainers
- Fuel Drain –including pressure relief and overflow protection
- Slosh Gates
- Gear Brake lines
- Flap Hinges
- Aft Spar to fuselage attachment Bracket
- Electrical – pitot heat, nav lights, strobes, trim servo
- Aileron Controls – push/pull tubes and bellcranks
- Auto Pilot roll servo
- Pitot system
- Access Panels
- Fuel Caps
- Static Guards – fuel cell grounding
Before we can begin installing the internal parts we need to clean up the wing assembly a bit. To trim the leading edge pencil a line connecting the level line on the G rib with the level line on the A rib. Extend the level line on the G rib onto the front of the leading edge. Do the same with the level line on the A rib. Then, using the laser level to paint a line between the two, mark the line with a sharpie. Use a rotary cutter to cut just into the fiberglass and remove the strip above line leaving the underlying foam intact.
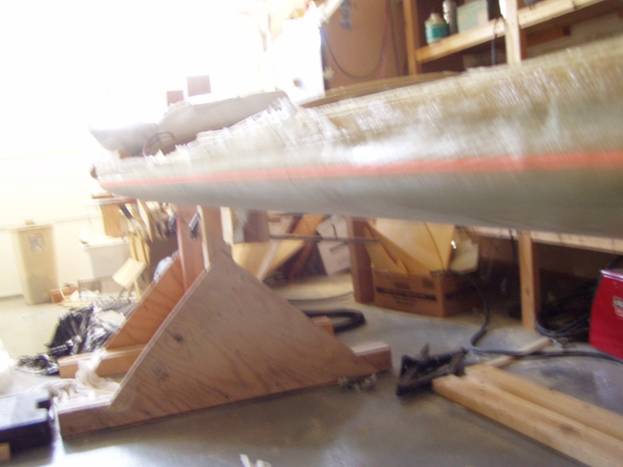 Laser painting the leading edge level line
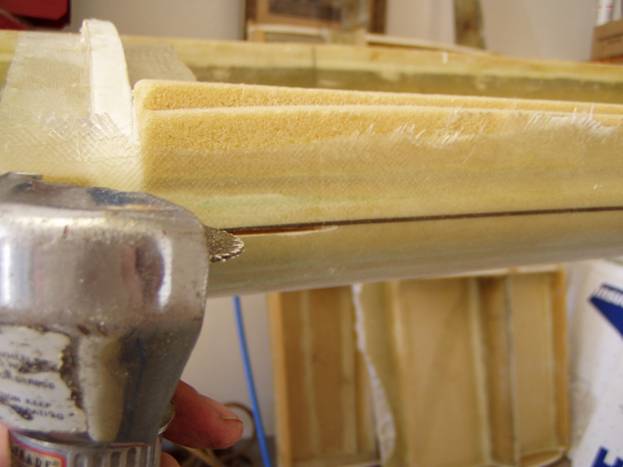 Rotary cutter to remove unwanted fiberglass
Take this opportunity to clean up the fiberglass in the bays. There should be no loose epoxy edges or fiberglass. All holes through the ribs should be clean and sanded and there should be no exposed foam core. We will want to sand the fiberglass on the aft side of the leading edge and the fore side of the trailing edge and both sides of the spar in anticipation of creating the flanges for the top skins. Enlarge the fuel passage holes at the base of the forward B rib and C rib. They should be 4 inches wide and ¾” tall. The forward side is located correctly; increase the size of the slot toward the aft side of the wing.

Enlarge the fuel slots in the lower B and C ribs
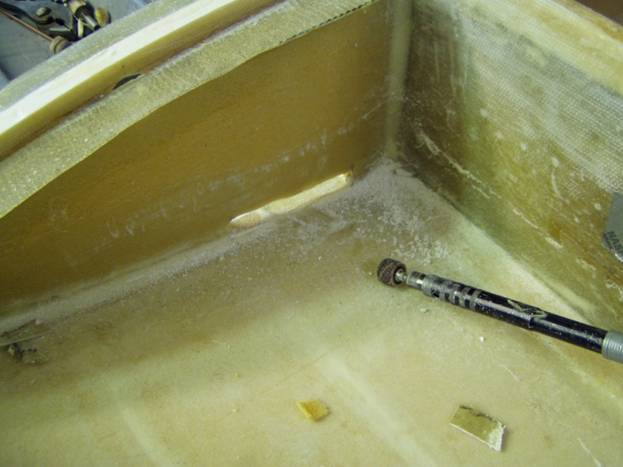
Enlarge the fuel hole
Once the holes have been enlarged remove a quarter of an inch of foam all the way around and fill with a thick micro paste mixed with a little cabosil to keep it from dripping.
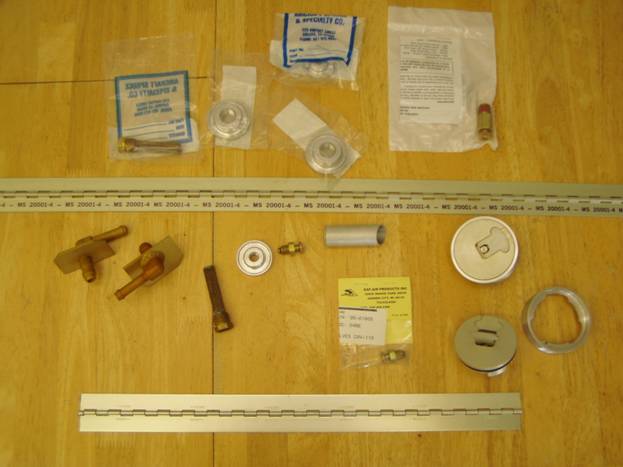
Collect the following parts for the wing:
2 each An867-3 Welding flanges for the fuel drains
2 each An867-1 Alum Welding flanges for the fuel outlet
2 each vacuum relief valves – fuel and pressure relief valves (ACS 52763)
2 each finger strainers – (ACS p/n 05-17700)
2 each fuel drains (ACS 05-01865)
2 feet MS20257P Hinge material
Parts Prep:
The smaller alum welding flanges with the 1/8” npt holes are used for the fuel drains. The outer raised ridge is ground down as shown in the following series of photos.
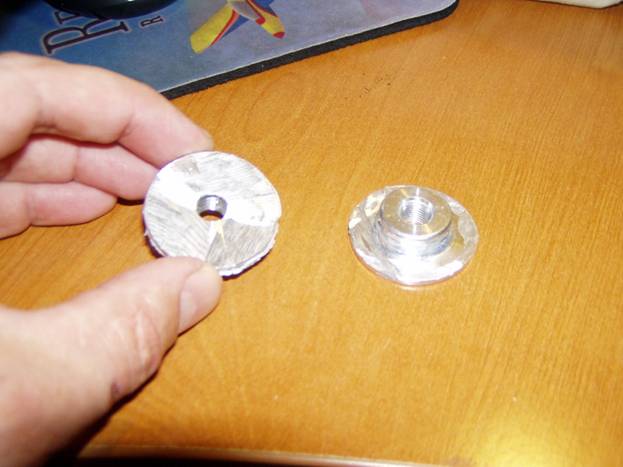 Raised lip on the smaller flanges are cut off Raised lip on the smaller flanges are cut off
The larger aluminum welding flanges are used for the fuel outlet with at finger strainers installed.
The fuel outlet flanges are cut as the following photo shows and again the entire part is roughened up with the grinder.
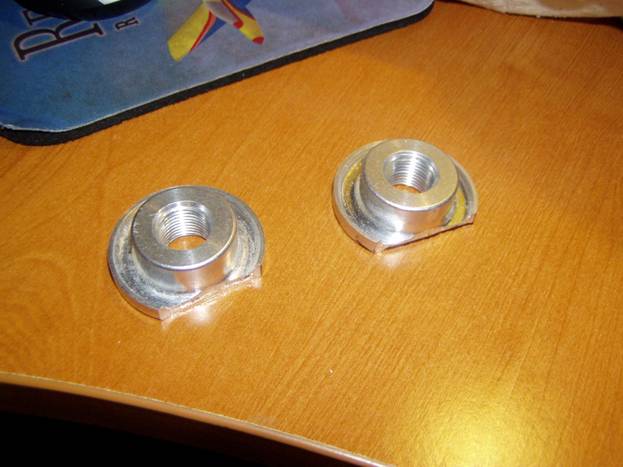
Fuel Strainer Welding Tabs cut
Slosh Gates
To make the bond on slosh gates, cut sections of the MS20257P piano hinge material 5 inches long. Permanently swage the hinge pin in place. Cut a small piece of aluminum ½” X 1” and bend it into a small angle to provide an upper stop. This will prevent the slosh gates from sticking open. Finally cut strips of precured 2 layer fiberglass laminate the size of the hinge . These are then riveted together as a unit.
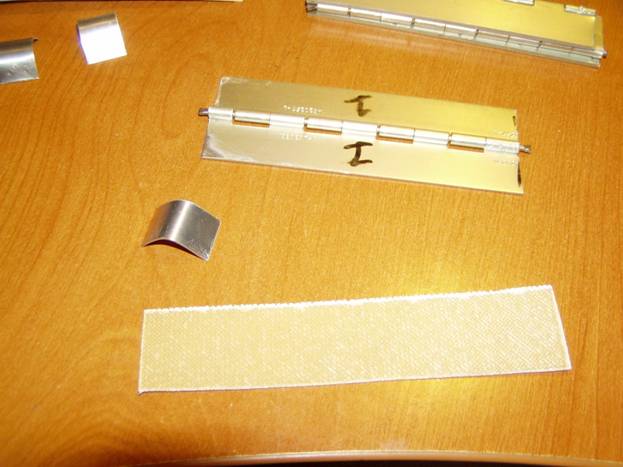
Parts to make Slosh Gates
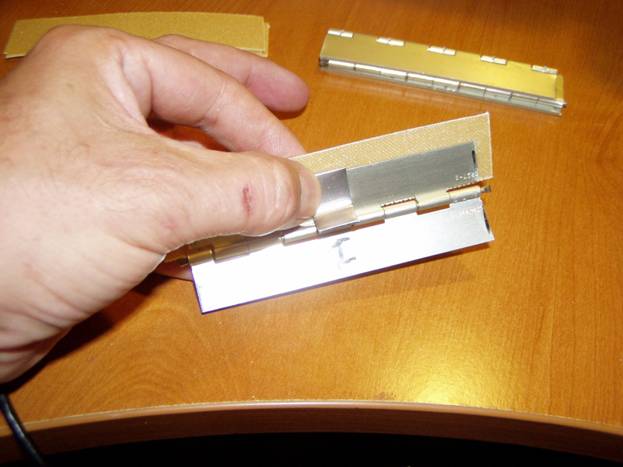
Slosh Gates
The fuel vents are fabricated from sections of 1/8” aluminum plate and aluminum bulkhead fittings. These can be obtained commercially or fabricated by welding bulkhead fittings to alum.
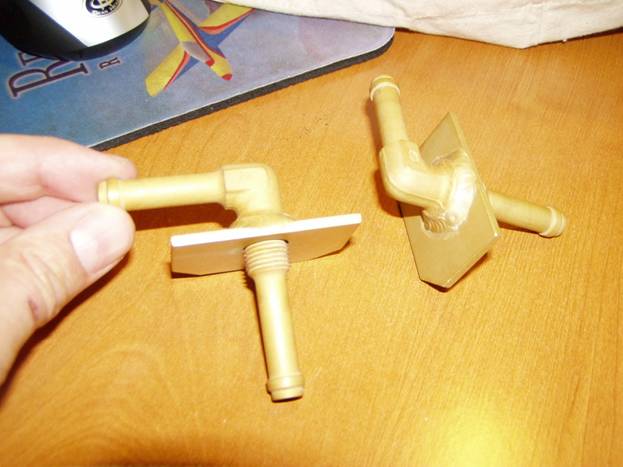
Fuel Tank Vent Fittings
It is important to note that epoxy does not bond well to alodined aluminum. The parts in the photo will need to be sanded with red scotchbrite in the area where we use epoxy and milled fiberglass to seal them.
There are a handful of aluminum parts we need to fabricate including the bellcrank assembly, idler assembly; flap hinges and rear spar attach brackets. We will work on these next.
PREVIOUS<---------------Manual
Home ------------------>NEXT |