| |
|
Home
The Manual
Downloads
Contact
Disclaimer |
|
|
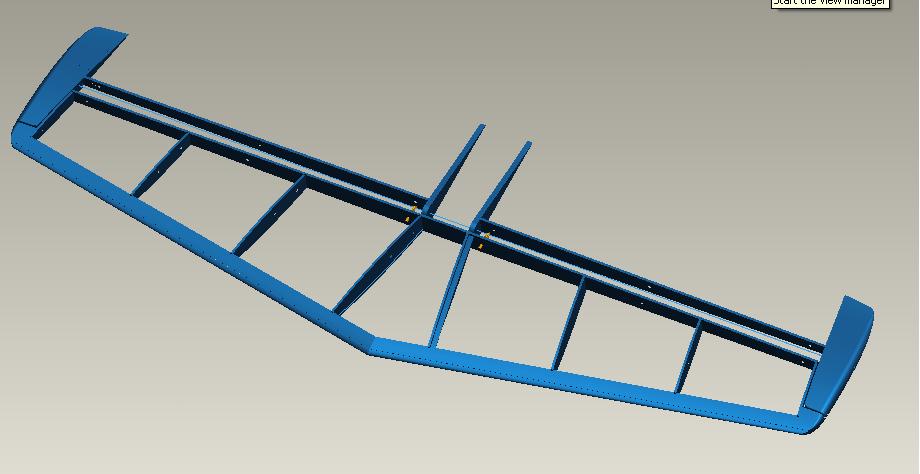
Installing Hinge Nutplates
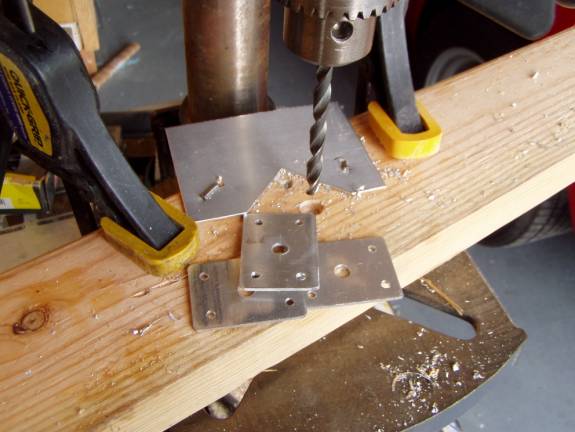
Jig for Drilling Nut Plate Holes
Nut plates are used throughout
the tail construction to attach the hinges and the weldments
to the fiberglass structure. The photo above shows how
a simple fixture can be used to speed the drilling of accurate
holes in the nut plates.
Start with a
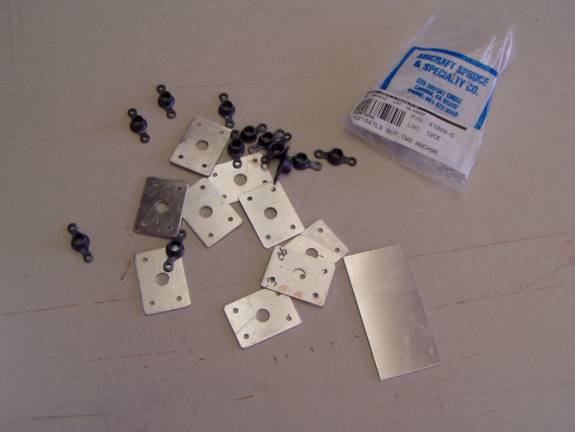
Nut Plate Parts
There are two sizes of nut plates used in the construction of the
horizontal and vertical stabilizers, one uses a K1000- 4 nut plate
and one uses a K1000-5 nut plate. Both of these are secured to the
aluminum plate with xxxxx rivets.
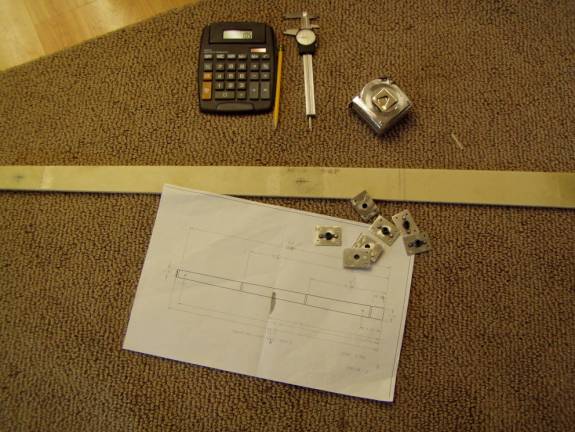
Completed Nut Plates
When installing the nut plates there are several important points
to keep in mind:
- The hole through the spar should be drilled over sized so the
bolt can move around allowing proper positioning of the hinge.
- Insure that you are putting the nut plate on the correct side
of the spar. One side had two extra layers of fiberglass
applied, this is the side for the nut plate. This should
also be the side you have marked the location of the horizontal
stab ribs, as seen above, since this will be the inside of the
stab.
- When installing the nut plates on the Horizontal stab spar it
is important to get the hinge bolt dead center of the spar. Use
a set of calipers to achieve this as seen below.
- When installing the nut plates on the Elevator Spar it is not
only important to get the hinge bolt dead center of the spar, but
also to insure the spacing is correct to match the spacing of the
horizontal spar hinges. This is actually easy to do, as you
will bolt the eyebolt side of the hinge to the rod end side and
use the horizontal spar as an adjustment fixture for the elevator
spar.
- Once you have mounted the nut plates for the elevator spar (this
is done later during the assembly of the elevator), you must mark
the left and right elevator spar sides as they will differ slightly.
<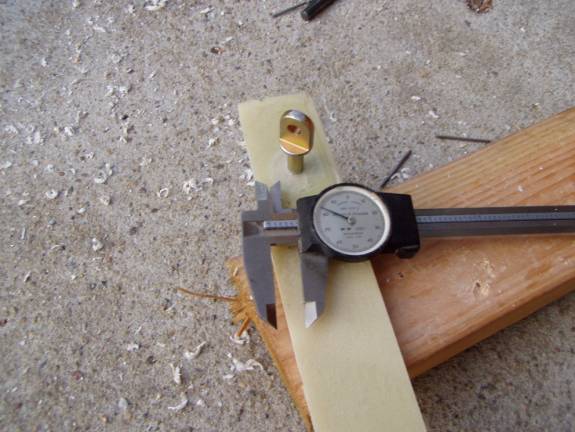
Install Eybolt or Rod End to Secure Nut Plate
Here we are using the calipers to insure the eyebolt is exactly centered
on the spar.
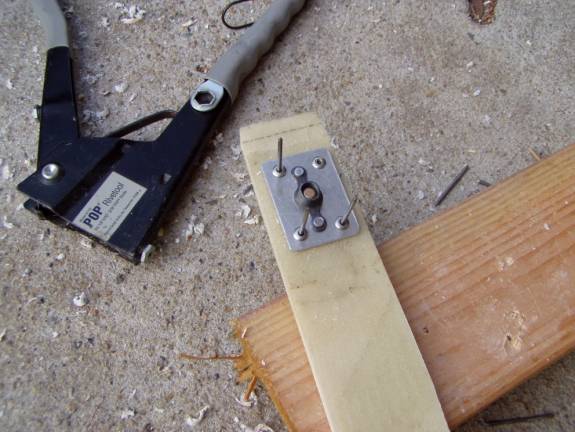
Installing Nut Plates
To install a nut plate with pop rivets:
- first properly locate the hole as above. It is best if
the hole is slightly oversized.
- Thread the eyebolt into the nut plate, insuring one last time
you have it on the proper side of the spar.
- Drill a single #30 hole through the single layer of fiberglass
using a hole in the nut plate as a guide. Do not drill all the
way through the spar (if you do, not to worry). Install the
first pop rivet once you are happy with the alignment of the plate.
- Finally, drill the remaining three holes and install the final
pop rivets.
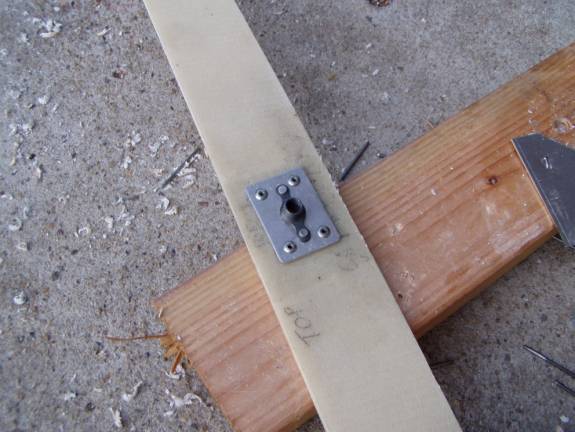
Installed Nut Plate
Looks Good.
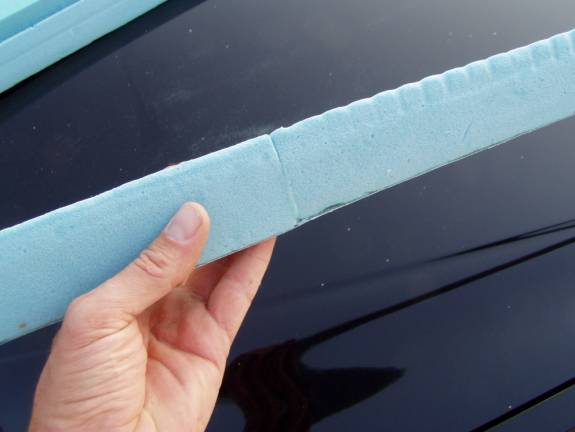
Fabricating Leading Edges
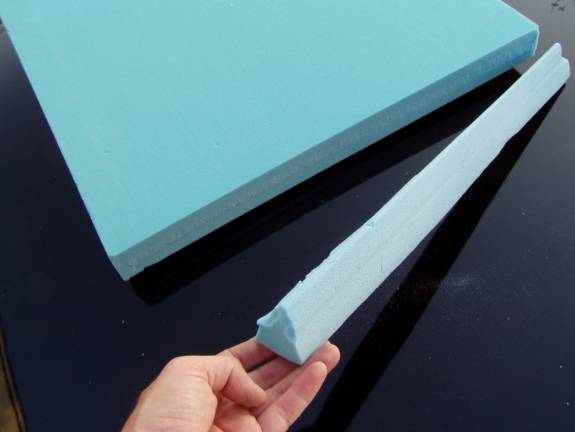
Leading Edge
Clamping Scheme for Long Straight Cuts
The leading edges are
cut from the 2 lb. Urethane foam. Here we shaped the leading edges before they were installed
on the horizontal stabilizer. In hindsight this was too much trouble
for no gain. Just cut oversized rectangular shaped pieces from
your block of foam.
Leading Edges Joined
Two strips of foam are needed for each side of the horizontal
stab leading edge. Epoxy the two strips of foam with micro
and then glass the aft side of the strips to form the leading edges.
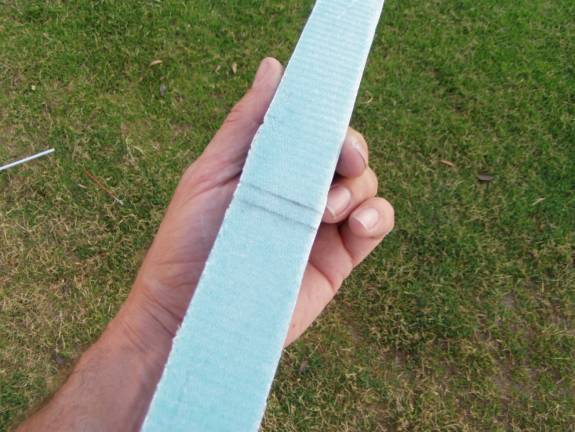
Leading Edges Fiberglassed
A single layer of BID is applied to the aft face of the leading edge.
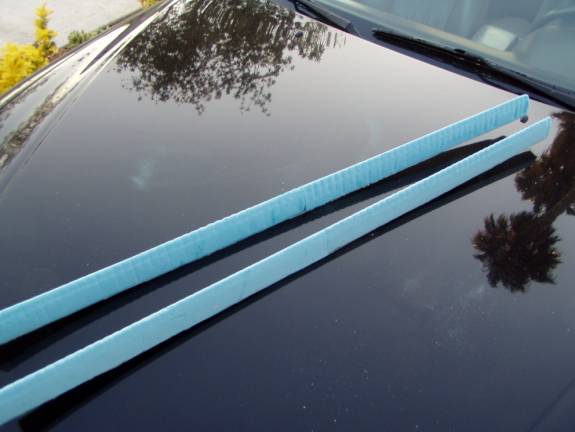
Completed Leading Edges
Two leading edges ready for assembly. Again just use rectangular
blocks instead of attempting to shape the leading edges before hand.
|
|
|
|
|
|